Materials & Tools
What order to learn drawing skills in as a complete beginner
A clear roadmap for how to learn drawing in order: seeing, lines, shading, perspective, and subjects, so practice builds instead of scatters.
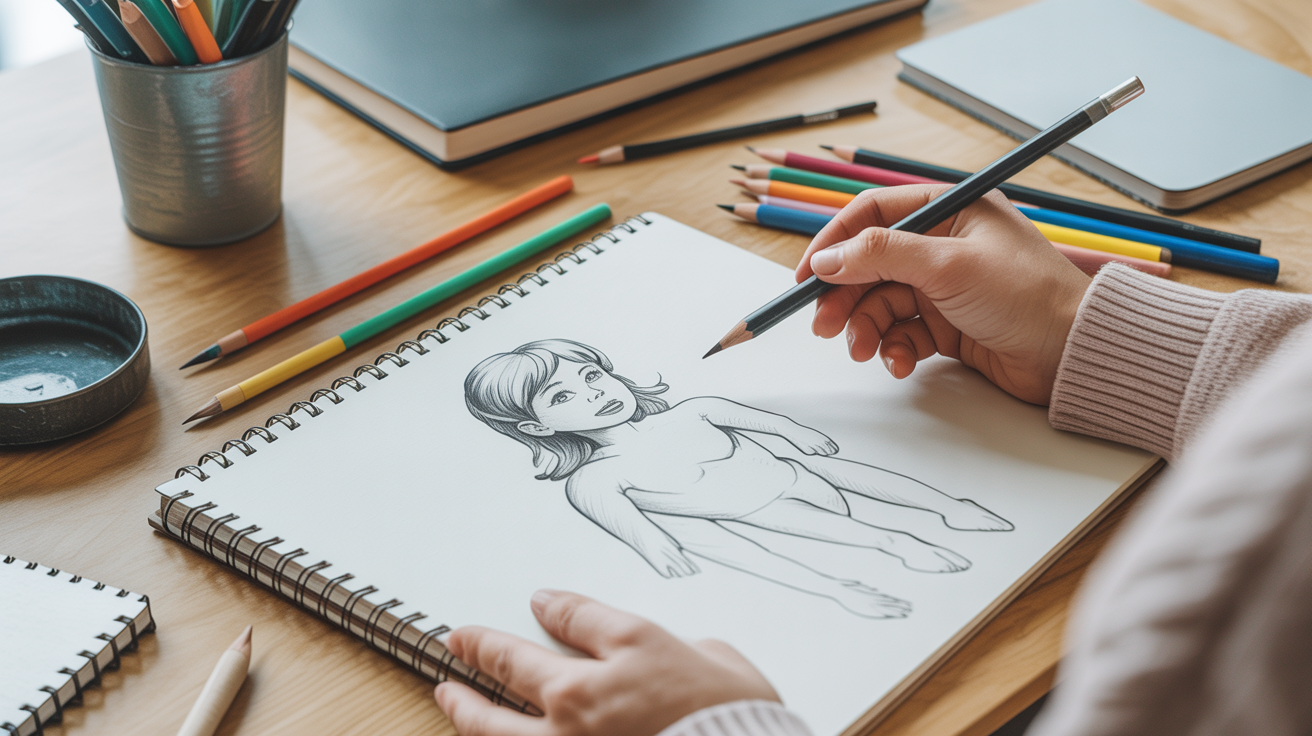
If you have ever opened five drawing tutorials in five tabs, one on shading, one on faces, one on perspective, one on hands, you already know the problem. Nobody tells you how to learn drawing in order, so you end up jumping around, half-finishing techniques, and wondering why nothing sticks. There is a sensible sequence to this. It is not rigid and it is not a strict school syllabus, but each stage genuinely leans on the one before it, and knowing that saves you a lot of frustrated erasing.
Why the order actually matters
Drawing skills stack. Shading a sphere convincingly depends on drawing a circle you trust in the first place. Getting a face to look right depends on measuring proportions accurately, which depends on training your eye to see angles and relationships rather than symbols. Skip a lower stage and go straight for something exciting like portraits, and you are not lacking talent. You are missing scaffolding, and every wobble in your line work traces back to a step you never practiced.
That said, this is not a strict gate system. Plenty of beginners draw their favorite cartoon character in week one purely for fun, badly, and that is completely fine. The order below is about where to put your deliberate practice time, not a ban on drawing whatever excites you.
The five-stage roadmap
Here is the rough sequence, along with the specific skill each stage is building and why it comes where it does.
| Stage | What you practice | Skill it builds | Why it comes here |
|---|---|---|---|
| 1. Seeing and loose marks | Gesture scribbles, blind contour drawing, warm-up pages | Training your eye to see shapes and edges instead of symbols | Everything else depends on accurate observation |
| 2. Line control and proportion | Confident strokes, measuring by eye, comparing lengths and angles | Steady hands and correctly sized, correctly placed drawings | You cannot shade or add perspective to a shape that is already the wrong size |
| 3. Value and shading | Shading spheres, cubes, and simple still life with a value scale | Turning flat outlines into forms that read as solid | This is where drawings start looking three-dimensional |
| 4. Simple perspective | One-point and two-point boxes, horizon lines, vanishing points | Placing objects and rooms convincingly in space | Needs steady lines and an understanding of form to make sense |
| 5. Subjects and composition | Faces, hands, animals, landscapes, arranging a full page | Applying everything above to things you actually want to draw | This is the payoff stage, and it goes faster once the earlier stages are in place |
Nobody moves through these in one straight line. Most people loop back to stage one or two constantly, even years in. Think of it less like a staircase and more like a spiral where you keep returning to the fundamentals at a slightly higher level each time.
Stage 1: Learn to see before you draw
This is the stage people skip most often, and it pays off the longest. Learning to see is the skill behind every drawing more than any specific technique is, because most beginner mistakes are actually seeing mistakes. You draw an eye the way you think an eye looks, from memory, rather than the actual shapes in front of you. Gesture drawing, blind contour exercises, and slowing down to really look at your subject before your pencil touches paper will do more here than any amount of technique-chasing.
If you have not put pencil to paper yet, starting from a genuine beginner footing matters more than which pencil grade you buy or which sketchbook looks nicest on a shelf. Loose, ugly warm-up pages are the whole point here, not a wasted step on the way to something better.
Stage 2: Line control and proportion
Once you can see more accurately, the next job is getting your hand to cooperate. This means drawing lines slowly and deliberately at first, then building up to confident single strokes instead of short sketchy hairs. Alongside that, you start measuring proportions when you draw instead of guessing, comparing the width of one shape to the height of another with your pencil held at arm's length, or just by eye once you have practiced enough.
Skipping this stage is the single most common reason beginner drawings look "off" in a way that is hard to name. The head is too big for the body, or one eye sits noticeably higher than the other, and no amount of nice shading fixes a proportion problem underneath it.
Stage 3: Value and shading
With reasonably solid line work, shading is where a drawing stops looking like a diagram and starts looking like an object with weight and light hitting it. Shading with a pencil usually starts with a value scale, moves to shading simple solids like spheres and cubes, and then to a small still life. This stage tends to be genuinely satisfying because the improvement is visible fast. A circle with a shadow suddenly reads as a ball sitting on a table, and that click is addictive in the best way.
Stage 4: Simple perspective
Perspective has a reputation for being intimidating, full of vanishing points and rulers, but the beginner version is much smaller than that reputation suggests. One-point perspective (a hallway with lines converging to a single point) and two-point perspective (a box seen from a corner) cover most of what a beginner needs. This stage benefits from steady lines and some shading already in place, since a perspective drawing with wobbly construction lines still looks flat no matter how correct the angles are.
A reasonable question here is whether shading or perspective should come first. Shading is the more foundational of the two: it applies to almost every subject you draw, including faces, hands, and animals, while perspective mostly matters for scenes and objects seen at an angle.
Stage 5: Subjects and projects
This is where faces, hands, figures, animals, still life, and landscapes come in, and it is the most fun part of drawing for most people. It is also where the earlier stages pay off. A face drawn with solid proportion sense and some shading experience behind it comes together far faster than one attempted cold.
Why jumping straight to subjects backfires
When a total beginner starts with portrait drawing because that is the goal they actually care about, the results usually feel discouraging in a specific way. The proportions feel wrong but the beginner cannot say why. The shading looks flat or smudgy instead of forming solid shapes. The whole thing looks like tracing symbols of a face rather than an actual observed face. None of this means the person lacks ability. It means they are applying stage five skills without stage one through three underneath them, and the gap shows up as vague, hard-to-diagnose frustration.
That said, drawing your favorite subject badly and often, purely for enjoyment, is not wasted time. Plenty of people draw dragons or dogs or anime characters constantly while also working through fundamentals on the side, and the fun drawings tend to improve as a side effect. The order matters most for where you put your deliberate, focused practice, not for what you doodle in the margins.
How long each stage takes
Resist the urge to look for a fixed timeline, because it genuinely varies with how often you draw and what "good enough to move on" means to you. Some beginners spend a couple of focused weeks on seeing and line control before shading starts clicking. Others spend a few months there, and that is not slow progress, just a different pace. The stages overlap in practice too. You might do daily gesture warm-ups (stage one) the same week you work through a shading exercise (stage three), and that is normal rather than a sign you are doing it wrong.
Watch for a stall that keeps happening at the same point instead. Flat-looking drawings no matter what you shade usually points to a value stage issue. Proportions that look off no matter how carefully you copy usually points back to seeing and measuring, not shading.
Frequently Asked Questions
Do I have to master each stage before moving to the next?
No. Think of the stages as where your focused practice time is best spent, not as locked gates. Revisiting earlier stages after you have moved on is normal and useful, not a step backward.
Should I learn shading or perspective first?
Shading first, generally. It applies to nearly every subject you draw, faces, hands, still life, animals, while perspective mainly matters for scenes and objects at an angle. Learning to shade a simple sphere or cube well will serve you more often than early perspective practice will.
What if I only want to draw one specific subject, like faces?
Spend most of your time on fundamentals anyway, especially seeing, proportion, and shading, and treat drawing faces as your fun practice alongside that. A few weeks of proportion and shading work will make your face drawings improve faster than jumping straight into face tutorials would.
Is it bad to skip straight to subjects as a beginner?
It will not ruin anything permanently, but it usually causes the frustration described above: results that feel off in ways you cannot diagnose. Stepping back to seeing, line control, and shading for a few weeks tends to unstick things quickly.
Where should a total beginner start?
Start with loose warm-up marks and basic seeing exercises rather than jumping into a specific subject. If you have not picked up a pencil yet, a guide built for a genuine beginner starting point will walk you through the first honest marks without expecting anything polished right away.