Getting Started
How to Start Drawing as a Complete Beginner
Ready to learn how to start drawing? This practical guide covers supplies, first exercises, and habits that build real skill from scratch.
You can start drawing today with a single pencil and a piece of printer paper. No art school, no expensive kit, no talent you were "born with." The skill develops through practice, and this guide will show you exactly where to begin.
What You Actually Need (and What You Don't)
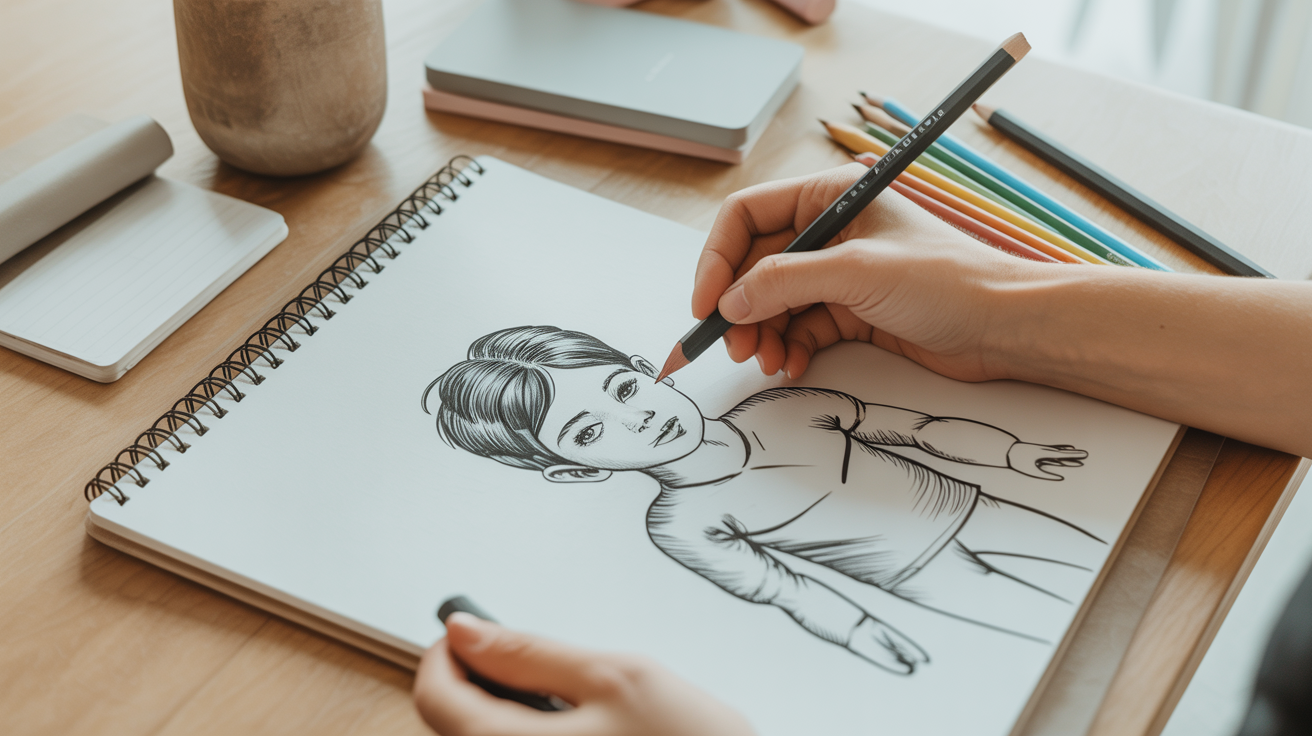
The supply paralysis is real. Beginners often spend weeks researching gear instead of picking up a pencil. Here is the honest minimum you need to get started with drawing:
| Supply | What to Look For | Why It Matters |
|---|---|---|
| Pencils | HB, 2B, and 4B grades | HB is your everyday line; 2B smudges into soft shading; 4B lays down deep darks fast |
| Paper | 60–90 lb (90–135 gsm) cartridge or sketch paper | Too thin and it pills when you erase; too thick and it resists pencil |
| Eraser | A white vinyl eraser and a kneaded eraser | Vinyl for clean corrections; kneaded (the putty-like one) for lifting highlights without leaving crumbs |
| Sharpener | A hand-cranked or two-hole wedge sharpener | A sharp point is a fresh start on every line |
That is genuinely it for the first month. Resist the urge to add charcoal, blending stumps, or toned paper until you have filled at least one sketchbook.
The Single Most Important Habit: Draw Often, Not Long
New drawers almost always frame practice as a big event, clear the desk, get the mood right, draw for two hours. That approach makes it easy to skip. A far more effective habit is short, consistent sessions: 15 to 20 minutes a day beats a three-hour weekend marathon.
A simple daily drawing practice routine can help you structure those short sessions so they build on each other rather than feeling random.
Keep a small sketchbook in your bag. Waiting rooms, lunch breaks, and commutes become practice time. The drawings don't need to be good. They need to exist.
Learning to See Before You Learn to Draw
Most beginners assume the problem is their hand. It usually isn't. The hand does what the eye tells it to. When a drawing looks "off," the cause is almost always that the drawer saw what they expected to see rather than what was actually there.
This is the core shift behind learning to see as a skill. Practicing it changes everything:
Negative Space
Instead of drawing the object in front of you, draw the shapes of the air around it. When you put a mug on a table, the space between the handle and the mug body is a specific shape. Draw that shape and the handle takes care of itself.
Upside-Down Drawing
Copy a reference photo or simple line drawing while holding it upside down. Your brain stops labeling things as "arm" or "chair" and starts reading pure shape and angle. The resulting copy is often more accurate than anything drawn right-side up.
Contour Drawing
A contour (the outline of a form) is one of the most useful first exercises. Trace the edge of an object very slowly with your eyes while your pencil follows on the paper, without looking at the paper. Called "blind contour" drawing, it feels wrong and looks chaotic, but it builds the hand-eye connection that accurate drawing depends on.
How to Hold Your Pencil (It Matters More Than You Think)
Most people grip a drawing pencil exactly like a writing pencil: thumb and two fingers clamped near the tip, hand resting on the paper. That grip works for small, precise writing. For drawing it produces tight, scratchy lines because your wrist is doing all the work.
A few grip changes will loosen your lines immediately:
- Hold further up the shaft. Gripping 3–4 cm back from the tip lets your forearm and shoulder share the movement instead of isolating it in your fingers.
- Try the overhand grip for shading. Hold the pencil from above, almost parallel to the paper surface. This lets you shade large areas quickly with the side of the graphite rather than the point.
- Rest lightly. Your hand should barely graze the paper. Heavy pressure produces rigid, over-controlled lines.
How to hold a pencil for drawing (not like writing) goes deeper into the mechanics if you want to experiment beyond these basics.
Your First Drawing Exercises
Start with these before you try to draw anything recognizable. They feel repetitive, but they are building real muscle memory.
Straight Lines and Curves
Draw parallel horizontal lines across a page, aiming to keep them evenly spaced and the same length. Then do the same going vertically and diagonally. Next, draw arcs and curves, S-curves, shallow arcs, tight spirals. These are not warm-up doodles. They train your hand to move confidently from the shoulder rather than trembling at the wrist.
Shaky lines at this stage are completely normal. Almost every beginner produces wobbly marks in the first weeks. The lines smooth out with repetition, not willpower.
Basic Forms
Before objects come forms: sphere, cube, cylinder, cone. Drawing these in simple line is the first step. Adding value (the range from light to dark) to them is the next. Value is what makes a flat circle look like a round ball, the shadowed side is darker, the lit side is lighter, and somewhere in between is the terminator line where light turns to shadow.
Practice shading a sphere with hatching (parallel lines drawn close together) and then with blending (rubbing the graphite gently with a fingertip or a piece of tissue). Neither technique is superior; they suit different styles and subjects.
Still Life from Observation
Once you are comfortable with basic forms, set up a small still life: an apple next to a glass, or a shoe on its side. These are unglamorous subjects, but they force you to measure, compare proportions, and observe light, the exact skills that transfer to everything else.
Spend the first five minutes just looking before you draw a single line. Where is the light coming from? Where is the darkest shadow? What is the widest point of the object compared to its height?
How to Measure What You See
Proportion errors are the most common frustration for beginners learning to draw from scratch. The head comes out too big, the table too short. The fix is sighting, using your pencil as a measuring tool:
- Hold your pencil at arm's length, arm straight, one eye closed.
- Align the top of the pencil with the top of the object you are measuring.
- Slide your thumb down until it aligns with the bottom of the object.
- Keep your thumb in place and compare that measurement against another part of the subject.
This sounds slow. It is, at first. But it replaces guessing with actual information, and your drawings will immediately become more accurate.
What to Practice in Your First Three Months
A rough progression that works for most people getting started with drawing:
- Weeks 1–2: Lines, curves, circles, and basic forms (sphere, cube, cylinder). Focus on control, not accuracy.
- Weeks 3–4: Simple still life in outline only. Work on proportion using the sighting technique.
- Month 2: Add value/shading to your still life drawings. Experiment with hatching and blending. Notice where the light source is in every drawing you attempt.
- Month 3: Draw from observation daily. Introduce a subject that interests you, a hand, a piece of furniture, a plant. The interest keeps you coming back.
Frequently Asked Questions
Do I need any natural talent to learn how to start drawing?
No. Drawing is a perceptual and motor skill, exactly like handwriting or typing. Some people pick it up faster, but the ceiling for anyone who practices consistently is far higher than most beginners expect. Talent is mostly just early practice nobody remembers.
How long does it take to get good at drawing?
Vague question, useful answer: you will feel a noticeable improvement after roughly 30 hours of deliberate practice. "Good" relative to what you want to draw takes longer, but you will surprise yourself within the first month if you draw most days.
Should I learn to draw digitally or on paper?
Start on paper. The tactile feedback of graphite on a textured surface teaches pressure control in a way that a screen and stylus don't. Once you understand value, proportion, and line control, transitioning to digital is straightforward.
What is the best subject to draw as a complete beginner?
Whatever genuinely interests you, with one constraint: it should be sitting in front of you rather than coming from memory. Drawing from observation (a real object or a clear reference photo) teaches you far more than drawing from imagination at this stage. Cars, plants, shoes, mugs, the subject matters less than the habit of looking closely.
My lines look shaky and childlike. Is something wrong with me?
Nothing is wrong. Shaky lines are the first stage of learning to draw, not evidence of a missing ability. The tremor usually comes from drawing from the wrist rather than the shoulder, and from gripping the pencil too tightly. Loosen your grip, move from the elbow, and keep filling pages. The steadiness comes.