Getting Started
How to Hold a Pencil for Drawing (Not Like Writing)
Learn how to hold a pencil for drawing with the right grip for every task—from tight detail work to loose, expressive sketching strokes.
The grip you've used since first grade works fine for signatures and grocery lists, but it can quietly fight you the moment you pick up a sketchbook. The pencil grip for drawing isn't one thing, it shifts depending on what you're making. Understanding a few basic holds, and when to swap between them, is one of the fastest ways to get more out of every practice session.
If you're just starting out, getting comfortable with the fundamentals first will make everything in this article land better.
The Writing Grip (Tripod) and When It Actually Helps
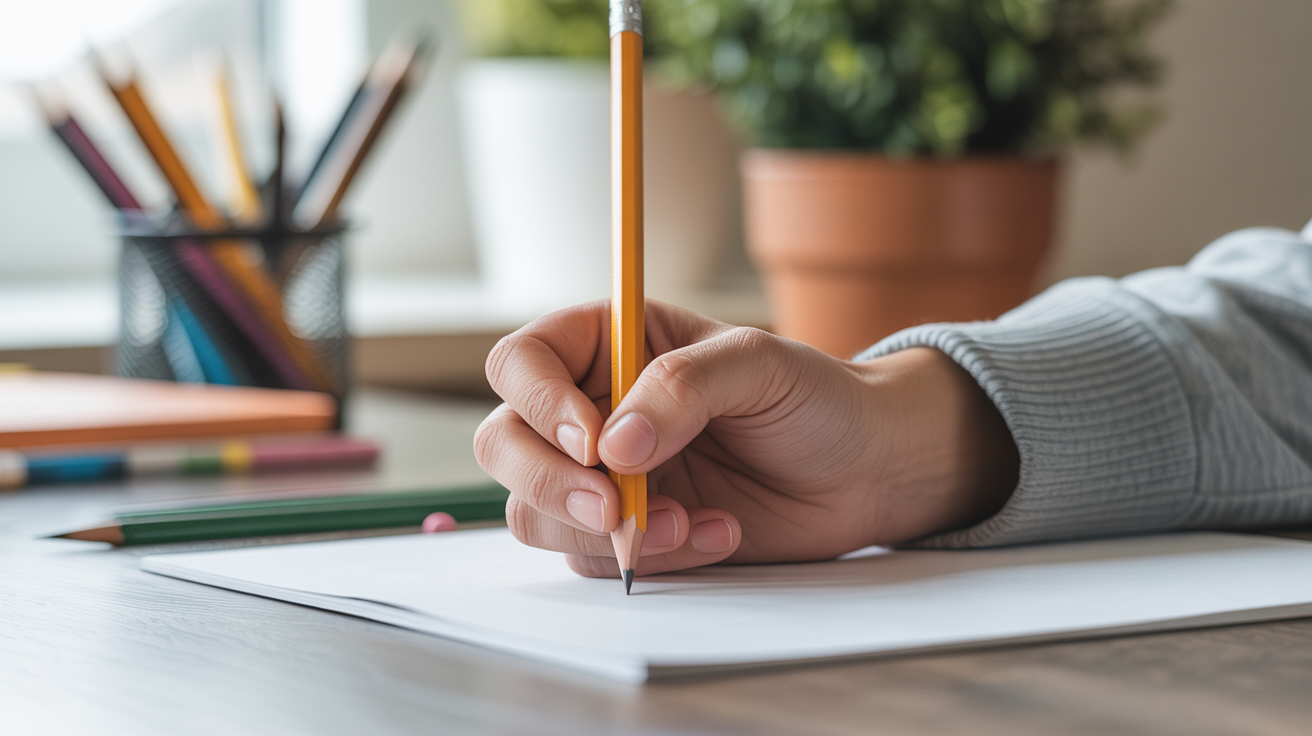
The grip most people default to is called the tripod grip: thumb, index finger, and middle finger pinch the pencil close to the tip, with the hand resting on the paper. It's stable, controlled, and great for precise marks.
In drawing, the tripod grip earns its place during detail work. Hatching fine lines on a face, signing your name to a finished piece, adding the texture of bark or fabric, these are all moments where that familiar hold gives you the control you need. The problem comes when beginners use only this grip for everything, including loose gesture sketches or large tonal areas, because it tends to lock up the wrist and produce stiff, scratchy lines.
Notice that in the tripod grip, most motion comes from your fingers. For short marks, that's ideal. For anything longer than an inch or two, you start fighting the natural arc of your hand. That's not a flaw in your technique; it's just the physics of how the grip works.
The Overhand Grip: Where Drawing Feels Different
The overhand grip (sometimes called the extended grip) is the one that looks strange at first. You drape your hand over the pencil rather than underneath it, so the pencil lies across your palm roughly parallel to your drawing surface. Your fingers curl around the barrel and your thumb rests on top or to the side.
With the overhand grip, the motion comes from your whole arm, shoulder, elbow, forearm, rather than just your fingers. This is what people mean by drawing from the shoulder: using the large muscles of your arm to generate strokes, which produces longer, more fluid lines with far less wobble. Artists use this for the early gestural phase of a drawing, for shading large areas by dragging the side of the pencil lead across the paper, and for any mark that needs to feel loose.
If your sketches always feel tight and timid, the overhand grip is usually the fix. It forces you to work bigger and trust your arm.
The Extended/Underhand Grip
There's a third position worth knowing, sometimes called the underhand grip or extended tripod. Here, you hold the pencil near the middle or upper end of the barrel (instead of close to the tip) using the tripod arrangement of fingers, but with your hand relaxed and lifted slightly off the paper rather than resting on it.
This grip sits between the other two. You still get a degree of arm movement, but you have slightly more fingertip precision than the overhand gives you. It's a favorite for portrait artists who need to place soft, controlled strokes over large areas without fully committing to either extreme.
Drawing from the Shoulder: What It Actually Means
"Draw from the shoulder" gets repeated in art classes constantly, but it's rarely explained. Here's what's happening mechanically: your shoulder joint is a ball-and-socket, which means it can sweep an arc smoothly and over a wide range. Your wrist, by contrast, hinges in a limited range and tires quickly when used for long strokes.
When you draw from the shoulder, you anchor your elbow loosely and let the shoulder do the work of moving the pencil across the paper. Try this: hold a pencil in the overhand grip, hold your wrist rigid so it can't move at all, and draw a long curved line using only shoulder and elbow rotation. It feels unnatural the first few times, but the lines it produces are noticeably smoother than wrist-driven marks.
Practicing learning to see and observe is the complement to this, arm control gets the line on paper; visual observation guides where it goes.
Which Grip for Which Task
A simple way to think about it:
| Task | Grip to reach for |
|---|---|
| Loose gesture sketch, long sweeping lines | Overhand (draw from the shoulder) |
| Broad tonal shading with the pencil's side | Overhand |
| Medium-length strokes, soft portraiture | Extended/underhand (mid-barrel hold) |
| Hatching, crosshatching, fine detail | Tripod (close to tip) |
| Very tight detail, lettering, finishing touches | Tripod (close to tip, hand resting on paper) |
None of these are rules, they're starting points. Most experienced artists cycle through all three during a single drawing session, often without thinking about it. The goal is to make the swap feel automatic.
Building Grip Awareness Into Your Practice
The biggest barrier to using different grips is habit. If you've been drawing with the tripod hold for years, the overhand grip will feel wobbly and wrong for a while. That feeling is normal and temporary.
One practical exercise: fill a page with long parallel lines using only the overhand grip, working from the shoulder. Don't try to make them perfect. Do this for five minutes at the start of a session before you pick up anything you care about. After a few weeks, the overhand grip will stop feeling foreign.
Another exercise is conscious grip-switching: start a drawing in the overhand grip for the rough layout, then switch to the tripod for details. Physically putting the pencil down and repositioning your hand, rather than sliding from one hold to another, makes the swap more deliberate until it becomes second nature.
Building a short, consistent ritual around this kind of exercise pays off quickly. A simple daily practice routine can help you structure these warm-up drills so they don't eat into your actual drawing time.
Frequently Asked Questions
Is there a "correct" grip for drawing? No. Professional artists use all of the grips described here, and some develop their own variations. What matters is that your grip gives you control over the kind of mark you're trying to make, not that it matches any particular rule.
Why do my lines look shaky when I draw slowly? Slow lines tend to wobble because the hand has time to correct and re-correct mid-stroke, which creates small jitters. Try drawing faster, and use your whole arm rather than just your fingers. Counter-intuitively, speed and arm movement often produce straighter, more confident lines than slow careful effort.
Should I grip the pencil tightly or loosely? Loosely, in almost every case. A tight grip tires your hand quickly and produces tense, scratchy marks. If you notice your hand aching after 20 minutes, loosen your hold. The pencil should feel secure but not clenched.
Can I use these grips with a mechanical pencil or just wood pencils? All three grips work with any pencil type. Mechanical pencils are slightly less comfortable in the overhand grip because the barrel is narrower, but they function the same way. Wood pencils (especially softer grades like 2B or 4B) tend to feel more natural for the side-of-lead shading that the overhand grip is great for.
How long until a new grip stops feeling awkward? Most people start to feel comfortable with the overhand grip after two to three weeks of short daily practice sessions. It won't feel natural the first day, or even the fifth. Stick with the warm-up line exercises and the awkwardness fades.