Drawing Basics
How to Measure Proportions When Drawing
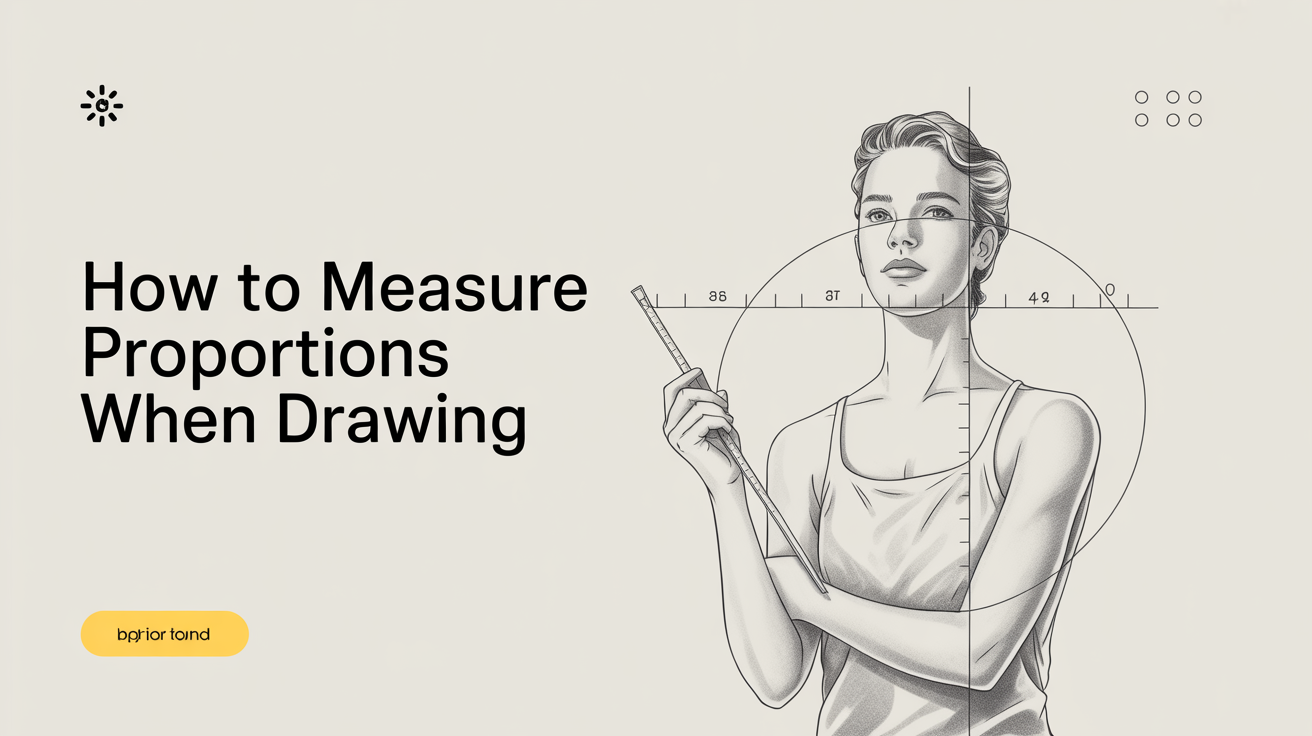
Learn how to measure proportions when drawing using pencil sight-measuring, comparative measuring, and the head-as-unit method to get accurate results.
Getting proportions right is the single skill that separates a drawing that "looks off" from one that holds together. The good news: you don't need a special eye for it. You need a pencil, a locked elbow, and a repeatable method.
What "Measuring Proportions" Actually Means
Proportion refers to the size relationship between parts of a subject, how wide a head is compared to the shoulders, how long the forearm is compared to the upper arm, how far down a window sits on a wall. When those relationships are accurate, the drawing reads as convincing. When they're wrong, something feels strange even if the viewer can't name the problem.
Measuring proportions doesn't mean ruling every line with a scale. It means using a reference unit (a consistent, repeatable length you establish from the subject itself) and comparing everything else to it.
Two main approaches work for beginners: sight measuring (holding a pencil at arm's length to take direct readings from the subject) and comparative measuring (using one part of the drawing to verify another). Most working artists use both.
How to Sight-Measure With a Pencil
Sight measuring, sometimes called the pencil technique or plumb-line method, lets you read distances and angles directly from your subject before committing them to paper. The arm-locked position is what makes the readings consistent, if your elbow bends even slightly between readings, you'll get different results each time.
Steps:
- Stand or sit at a fixed position in front of your subject. Don't rock forward or back during a session.
- Hold your pencil vertically in your dominant hand, arm fully extended, elbow locked straight.
- Close one eye. (Two eyes create parallax; closing one flattens the scene into a single plane you can actually measure against.)
- Align the tip of your pencil with the top of whatever you're measuring, the top of a head, the top of a jug, the highest point of a tree.
- Slide your thumb down the pencil shaft until it lines up with the bottom of that same element. The distance between the tip and your thumb is your unit of measurement.
- Without moving your thumb, rotate or shift the pencil to check how many of those units fit across the subject's width, or how many stack vertically to reach another landmark.
- Record the ratio on paper, "the head is roughly 3/4 of its own height across at the ears", then use that ratio to place things on your drawing surface.
The unit itself is arbitrary. It can be the head, the width of a door, the length of a vase's neck, whatever is easy to see clearly. Once you've chosen it, stay consistent for the whole drawing.
A note for beginners: your arm will tire, and you'll be tempted to drop your elbow. Rest between measurements rather than bending your arm. One inconsistent reading can cascade through a figure.
For related technique on controlling your marks once proportions are placed, this guide to drawing straight lines and smooth curves by hand covers the grip and movement side.
Comparative Measuring
Comparative measuring works alongside sight measuring, and it's what you do on the paper itself rather than in the air. The idea is simple: use a measurement you've already committed to drawing as a check on whatever comes next.
Say you've drawn the head of a figure and it's two inches tall on your page. Before you add the torso, measure with your pencil on the paper: the torso should be roughly three head-heights long. If your rough torso sketch is running to five head-heights, you know to compress it before you detail anything.
This is especially useful mid-drawing, when you can no longer go back to sight-measure every element from scratch. Ask yourself: is this new shape larger, smaller, or the same size as the part next to it? By how much? Keep a running check as you build.
The Head-as-Unit Method for Figures
When drawing the human figure, the head is the standard unit by convention, and for good reason. It's a clearly bounded shape, consistent across poses, and visible in almost every figure view.
The average adult figure is seven to eight head-heights tall. A more stylized or "heroic" figure runs closer to eight or nine. Neither is wrong; what matters is that once you've drawn the head, you use it as your measuring stick for everything below.
Practical sequence:
- Draw the head first (or at least block its height).
- Mark the full figure height below it: if you're using seven heads, mark that distance on the page before drawing the feet.
- Divide that length: halfway down lands roughly at the crotch/hip line. The knees fall around the five-head mark. The feet land at seven.
- Use those anchors to build the body around, rather than drawing top-to-bottom and hoping everything fits.
You don't need to know anatomy to use head-count measuring. It's a geometric skeleton, not a medical diagram.
For drawings where the pose rather than the structure is the priority, gesture drawing approaches the figure differently, useful to read alongside proportion work so you know when to measure and when to feel.
Checking Angles and Alignments
Proportion isn't only about lengths. The angles things sit at matter just as much. A tilted head, a leaning doorframe, a slanted horizon can all look wrong not because the distances are off but because the angles are.
Use your pencil as a plumb line (perfectly vertical) or a level (perfectly horizontal) by holding it steady in the air at arm's length. Does the edge of the building run at the same angle as your pencil when it's tilted to match? Mark that angle on paper with a light line before committing.
You can also check vertical alignments, whether one landmark sits directly above another. Hold your pencil truly vertical and check what else lines up along that axis. On a face, the inner corner of each eye often aligns with the outer edge of each nostril. On a building, does the top of that window sit directly above the bottom corner, or does it shift left? These checks catch errors that measuring lengths alone won't reveal.
How to Find and Fix Proportion Errors
Even careful measurers make errors. The goal isn't a perfect first pass, it's catching problems before they're buried under detail.
A quick checklist for reviewing your drawing mid-session:
- Step back physically (six feet or more if you can). Errors invisible up close leap out at distance.
- Turn the drawing upside down. Your brain can't pattern-match a familiar face or figure as easily, so it reads shapes more objectively.
- Hold your drawing up next to the subject (if drawing from life or a reference image). Squint to blur both, do the masses match in their relative sizes?
- Check negative spaces: the gaps between the arm and the body, the space inside a handle, the sky between branches. Negative shapes are easier to see accurately than the objects themselves.
- Measure one more time on paper with your pencil, this time comparing what you drew to what the ratio should be.
Fixing errors early is straightforward: a light construction-phase sketch (barely visible marks) is easy to adjust. If you're several layers in, use a kneaded eraser to lighten back to the skeleton lines, correct the structure, and redraw.
Proportion checking pairs naturally with contour drawing practice, which trains your eye to follow edges closely rather than drawing symbols from memory.
Frequently Asked Questions
Do I need to measure every single thing in a drawing? No. Measure the key relationships, the ones that will throw everything else off if wrong. On a portrait, that means the overall head width-to-height ratio, the eye-line position, and nose-to-chin length. Once anchors are correct, smaller details tend to fall in place.
What if I'm drawing from imagination, not from life? Sight measuring only works from observation. For imaginative drawing, learn the proportional rules first from observation work, then apply them from memory. The head-as-unit method in particular becomes a mental checklist you can run without holding a pencil up.
My proportions always look fine while I draw but wrong when I step back. Why? This is extremely common. Close up, you're reading local relationships (this line next to that line). Stepping back reveals global relationships (this region relative to the whole). Build in regular step-back breaks, every five minutes at minimum, so you're catching global errors before they compound.
How long does it take to get proportions right consistently? Most beginners see real improvement after ten to twenty focused observational drawings where they actively measure rather than just look. It's a habit more than a talent. The more you reach for the pencil to check, the more automatic the checking becomes.
Is the sight-measuring technique only for figure drawing? Not at all. It works for still life, architecture, landscapes, and portraits. Any subject where size relationships matter, which is every subject, benefits from the same arm-locked, one-eye-closed pencil check. The unit just changes depending on what you're drawing.