Materials & Tools
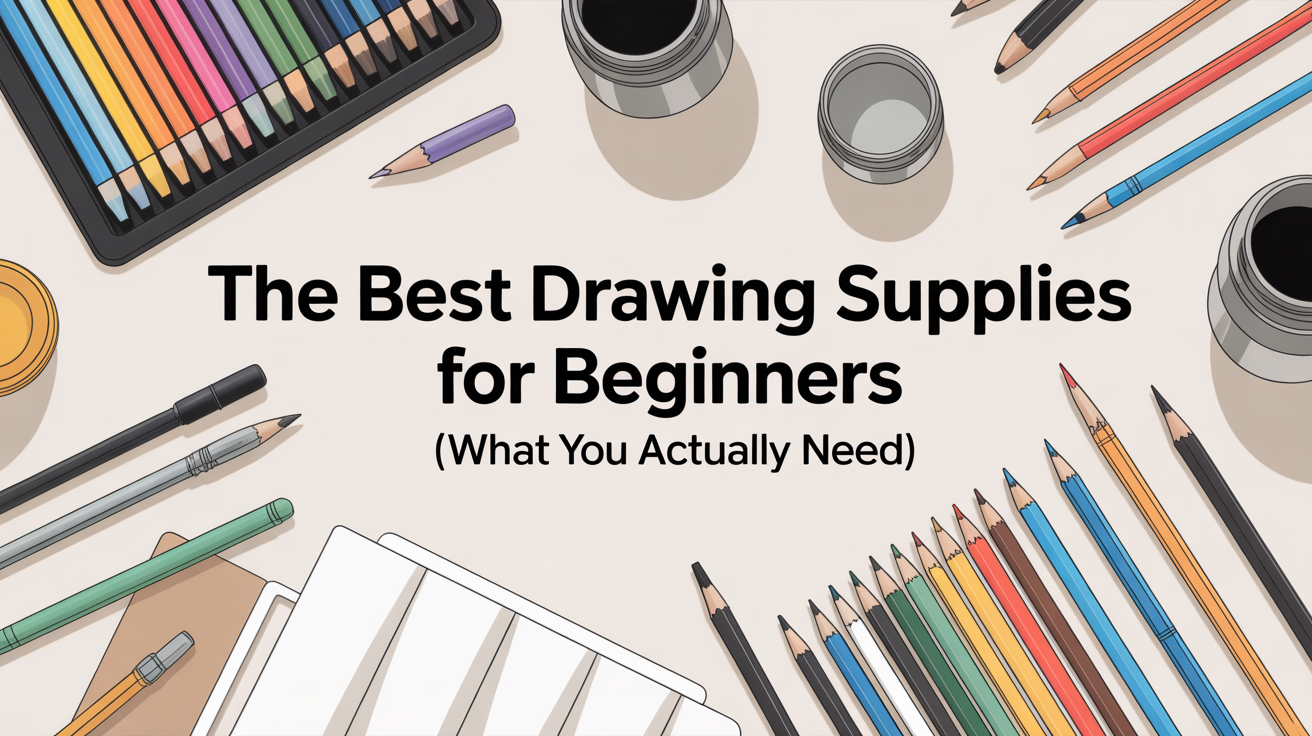
The Best Drawing Supplies for Beginners (What You Actually Need)
New to drawing? This guide covers exactly what drawing supplies for beginners are worth buying — and what you can skip until later.
You need far less than most art-supply stores would have you believe. A handful of pencils, a decent eraser, and a pad of paper will take you further than a full cabinet of tools you don't yet know how to use. This guide covers exactly what belongs in a beginner drawing kit, what qualities to look for, and what to leave on the shelf for now.
The Core Four: Pencils, Paper, an Eraser, and a Sharpener
Every other supply is optional. These four aren't.
Pencils
Pencils are graded on a scale that runs from hard (H) to black/soft (B), with HB sitting in the middle. A higher H number means a harder, lighter line; a higher B number means a softer, darker, smudgier mark. Understanding those grades in detail will save you a lot of frustration early on.
For a beginner, you genuinely only need three:
- HB, everyday sketching, clean outlines, light construction lines
- 2B, shading mid-tones without pressing hard
- 4B, deep shadows, loose expressive lines, anything you want dark and velvety
Resist the urge to buy a full 12-pencil set. Most of those grades overlap enough that you won't feel a meaningful difference between them until you've been drawing for months. Start with three and learn what each one actually does.
What to look for: Any student-grade or "scholastic" wood-cased pencil will do. The lead should be centered (off-center leads snap constantly) and the casing should sharpen cleanly without splintering. You don't need anything professional-grade yet.
Paper
Paper matters more than most beginners expect, and it's the supply most beginners get wrong. Printer paper is too smooth and too thin; it pills when you erase and doesn't hold graphite well. Newsprint pads are fine for loose gesture practice but too fragile for finished work.
Look for a sketchbook or drawing pad with paper in the 70–90 lb (roughly 100–130 gsm) range. The texture, often called "tooth," should be slightly toothy rather than slick, a little texture gives graphite something to grip. A very smooth (hot-press) surface is actually harder to shade on, not easier, because the graphite slides around.
An A5 or 9×12 inch pad is the right size to start. Smaller pads feel cramped; larger ones can feel overwhelming. A full breakdown of paper options covers weights, textures, and when surface choice actually starts to matter.
Erasers
You'll want two types:
Vinyl (plastic) eraser, The white rectangular blocks common at any stationery shop. These erase cleanly and completely without leaving a pink smear. They're more aggressive than the pink rubber erasers on pencil ends, which is mostly a good thing.
Kneaded eraser, A gray, putty-like eraser that you pinch and shape with your fingers. Rather than scrubbing graphite off, it lifts it. You can dab it gently to lighten a tone without erasing it entirely, or pull it to a fine point to recover a small highlight. It doesn't leave crumbs. Kneaded erasers are cheap and last a long time; pick one up even if you're skeptical.
Sharpener
A basic double-hole handheld sharpener works fine. Get one with a reservoir so the shavings don't scatter. If you want more control over your point length, a long-point sharpener (sometimes called a drafting sharpener) produces a longer exposed lead that's useful for shading. Both types are inexpensive.
A craft knife or sandpaper block is sometimes recommended for shaping points, but that's a technique tool, not a starter supply.
What About Charcoal?
Charcoal is worth knowing about because it's often sold alongside pencils in beginner kits and marketed as an alternative starting point. It behaves very differently: it smudges more aggressively, covers large areas faster, and is harder to control for fine detail.
If you're drawn to loose, expressive work, charcoal can be exciting early on. If you want to build precise observation skills, stick with graphite pencils first. A direct comparison of graphite and charcoal walks through the trade-offs so you can decide which suits your goals.
Useful Additions (Once You're Drawing Regularly)
These aren't essential on day one, but each one earns its place once you're past the first few weeks.
Blending stump (tortillon): A tightly rolled paper stick used to blend and soften graphite tones. You rub it over a shaded area to smooth out pencil strokes and create gradients. Useful, cheap, and worth having. A clean finger works too, though it deposits oil onto the paper.
Fixative spray: A light aerosol coating that locks graphite in place so it doesn't smear. Useful for keeping finished drawings clean. Not strictly necessary if you're careful with storage, but convenient. Use it outdoors or with ventilation.
Ruler: For anything with straight edges or architectural elements. A 30 cm (12 inch) ruler is enough.
Reference holder or easel: Even a small tabletop easel keeps your drawing surface at a comfortable angle. Hunching over a flat desk for an hour leads to wrist and neck fatigue. Not a day-one purchase, but worth thinking about.
Starter Checklist
| Supply | Why it matters | What to look for | Skip for now? |
|---|---|---|---|
| HB pencil | All-purpose sketching and outlines | Centered lead, clean wood casing | No |
| 2B pencil | Mid-range shading without heavy pressure | Same as above | No |
| 4B pencil | Deep shadows, expressive marks | Same as above | No |
| Sketchpad (70–90 lb) | Holds graphite, survives erasing | Slight tooth, not slick | No |
| Vinyl eraser | Clean, complete erasing | White block; avoid pink rubber | No |
| Kneaded eraser | Lifts graphite, recovers highlights | Gray putty type | No, very cheap |
| Double-hole sharpener | Keeps points consistent | Reservoir model | No |
| Blending stump | Smooth tones and gradients | Any size 3–5 pack | Yes, initially |
| Fixative spray | Protects finished work from smudging | Matte, acid-free | Yes, initially |
| Charcoal pencils | Different texture and tonal range | Only if you want looser work | Yes, initially |
| Colored pencils | Color work | Good quality cores resist breakage | Yes, different skill set |
How Much Should You Spend?
Not much. A full starter kit covering all the "No" items in the table above should cost somewhere between $10 and $25 depending on where you shop. The pencils, an eraser pair, a sharpener, and a basic sketchpad are available at any office supply or discount art store. You do not need to buy from a specialty art shop to start.
The one area where spending a little more pays off is paper. A mid-grade drawing pad (not the cheapest newsprint block) makes erasing and layering noticeably more pleasant. That's a $6 upgrade, not a $30 one.
Professional-grade pencils (the kind artists use for finished illustrations) are made to finer tolerances and have denser, smoother lead. The difference is real, but it's not something a beginner will notice in their work yet. Buy cheap, use them hard, and upgrade individual supplies as you discover specific limitations.
Frequently Asked Questions
Do I need a full pencil set? No. Three grades (HB, 2B, 4B) cover almost everything a beginner needs. Full sets of 12 or more pencils include grades so close together that you won't feel the difference until you've developed a much more sensitive hand. Add grades one at a time as you identify gaps.
Can I just use printer paper? You can, and many people start there. The practical problems: it's thin (usually around 75 gsm), tears when you erase hard, and the very smooth surface doesn't hold graphite well for shading. A basic drawing pad is cheap enough that there's little reason to work against yourself with paper that fights you.
What's the difference between a sketchbook and a drawing pad? Mostly binding and portability. A sketchbook is bound like a book (spiral or sewn), good for carrying around. A drawing pad has sheets that tear out cleanly, which is convenient if you want to frame or scan work. The paper inside can be identical. Either works fine to start.
How much should a beginner spend on supplies? Between $10 and $25 covers everything you need to get started properly. The ceiling goes up only when you decide to explore specific media (charcoal, ink, watercolor pencils) or upgrade individual tools based on real limitations you've encountered. Don't spend more until you know what's actually holding you back.
Do I need special paper for graphite? Not special, just appropriate. Standard smooth printer paper is the main thing to avoid. Any pad labeled "drawing," "sketching," or "cartridge" paper in the 70–90 lb range will work well. Watercolor paper is too textured for detailed graphite work; pastel paper has too much tooth. Stick to something in the middle.