Materials & Tools
How to Sharpen a Pencil for Drawing (Long Point vs Short Point)
Learn how to sharpen a pencil for drawing, when to use a long point vs short point, and how to safely sharpen with a knife for better marks.
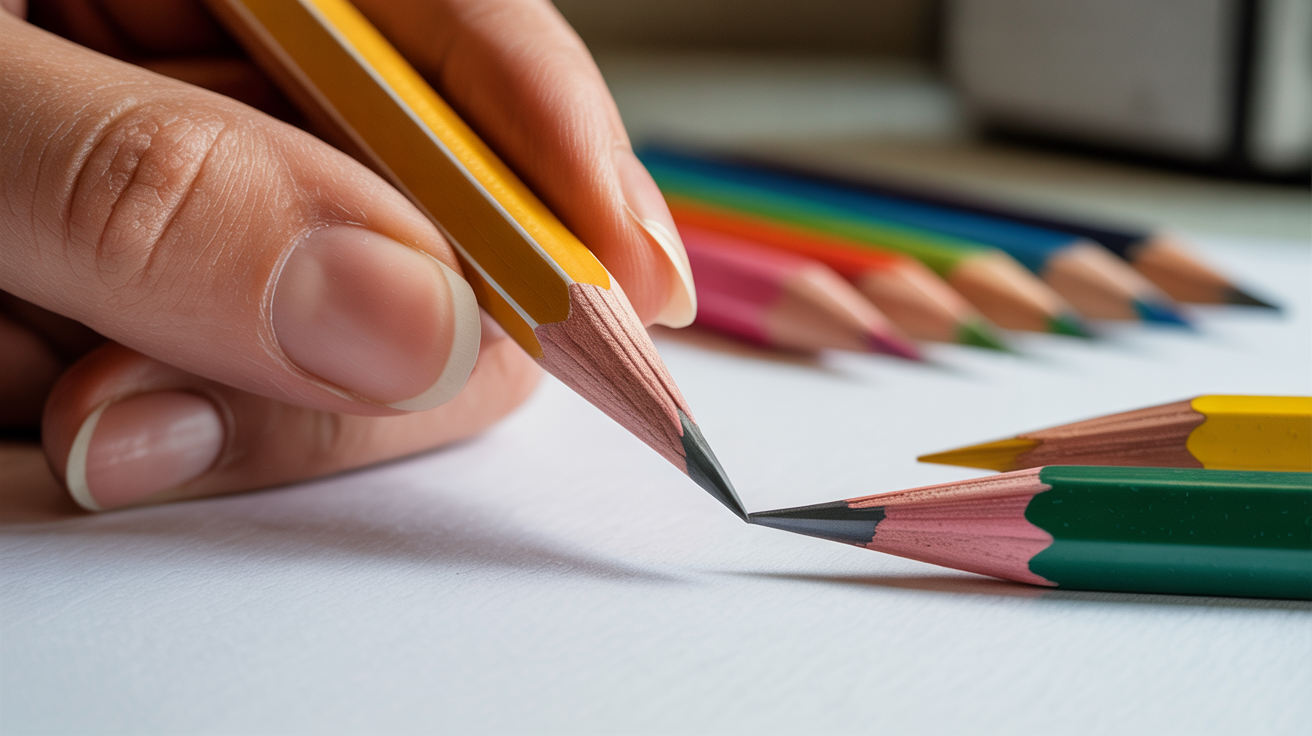
Most beginners sharpen their pencils with a pocket sharpener and move on without thinking twice. That works fine for writing, but drawing asks something different from a pencil point. The shape of the tip affects how much control you have over your lines, how wide your marks can get, and how quickly the point dulls on the paper. Once you understand the difference between a long point and a short point, and the two main ways to get there, you will make a deliberate choice rather than just the default one.
At a Glance
- A long point (8-15mm of exposed core) gives you fine detail lines and the option to shade with the side of the graphite; a short point (3-6mm) is faster to produce and better suited to broad shading.
- A mechanical or crank sharpener is the reliable way to get a consistent short point in seconds.
- A craft knife is the standard tool for a long point, always cut away from your body, fingers behind the blade.
- Sandpaper blocks refine a tip after sharpening and let you flatten a point into a chisel shape for wide strokes.
- Soft pencils (4B and darker) break more easily in tight mechanical sharpeners; go slower and use lighter pressure, or switch to a knife.
- Rotating the pencil every few strokes and keeping a sandpaper block on your table extends any point's working life significantly.
Long Point vs Short Point: What the Terms Actually Mean
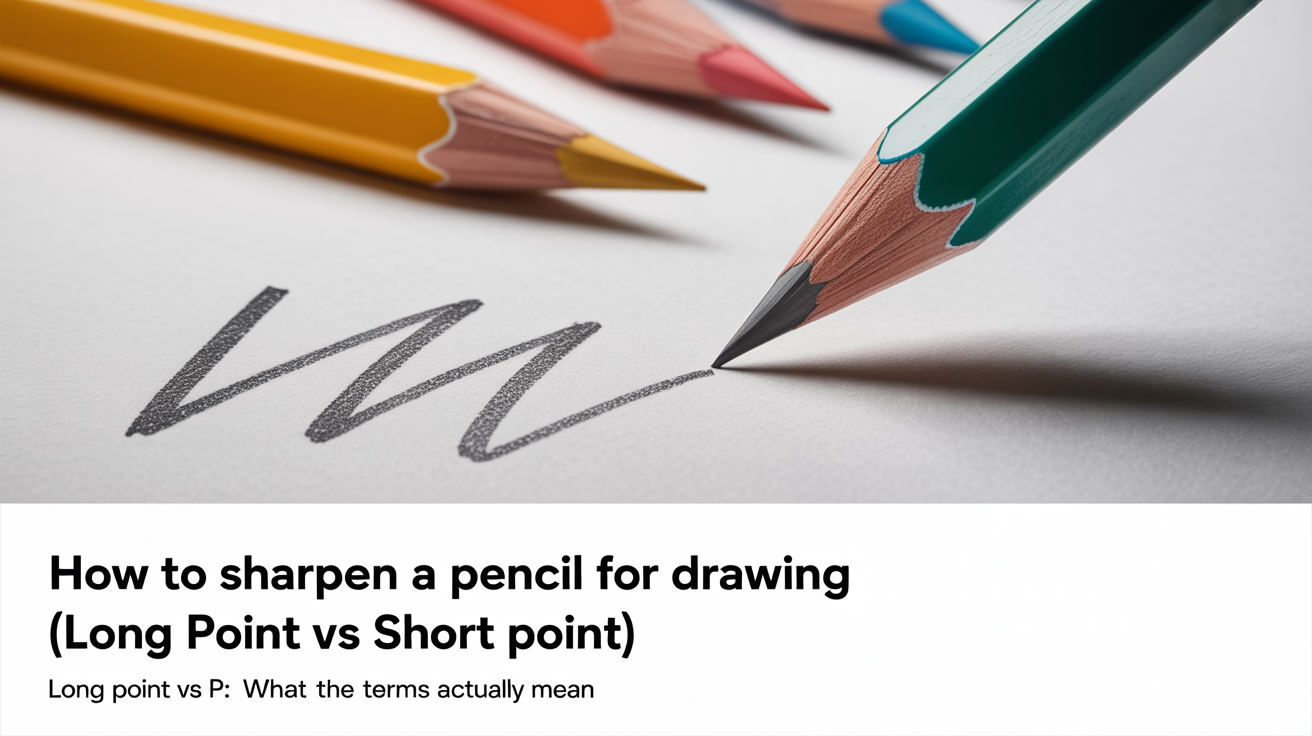
When pencil people talk about a long point, they mean a tip where a generous length of the core (the gray drawing material in the center, often called the lead even though modern cores contain no lead) is exposed above the wood of the barrel. A long point might have 8 to 15 mm of bare core extending from the end of the barrel.
A short point has much less exposed core, often 3 to 6 mm, similar to what a standard sharpener produces. The wooden barrel comes close to the tip.
The core itself is a mixture of finely ground graphite and clay, not literal lead. Wikipedia's entry on graphite traces this back to the modern pencil formula invented by Nicolas-Jacques Conté in 1795, which combined powdered graphite with clay and let manufacturers control hardness by adjusting the ratio. That same ratio is why a soft, clay-light core (the B grades) shaves and breaks differently under a blade than a hard, clay-heavy core (the H grades), a distinction that matters once you start sharpening by hand instead of feeding the pencil into a machine.
Here is a quick comparison to make the difference concrete:
| Feature | Long Point | Short Point |
|---|---|---|
| Exposed core length | 8-15 mm | 3-6 mm |
| Best for | Detail lines, consistent thin marks | Shading large areas, hatching |
| Side shading possible? | Yes, with the bare core | Limited |
| How fast it dulls | Faster (more exposed core) | Slower |
| Main sharpening method | Craft knife or sandpaper block | Mechanical or rotary sharpener |
| Beginner friendliness | Moderate (takes practice) | High |
Neither point is universally better. Most artists keep a few pencils with long points for detail work and let others wear down to a shorter, blunter tip for broader shading.
Using a Mechanical Sharpener
A good rotary or barrel sharpener is the fastest way to get a consistent short point, and for many situations that is exactly what you need. A few things to know:
- Sharpener quality matters more than you might expect. Cheap sharpeners have soft blades that crush the core instead of cutting cleanly. A metal single-hole sharpener with a decent blade, or a crank-style classroom sharpener, will give you a cleaner result than most plastic pocket versions.
- Soft pencils (grades like 4B, 6B, 8B) break more easily in tight sharpeners. Turn slowly and with lighter pressure to avoid snapping the core inside the barrel.
- A sandpaper block (a small pad of sandpaper stapled to a wooden stick, sold in art stores) lets you adjust the tip shape after sharpening. Rotate the pencil lightly against the pad to refine the point or flatten it into a chisel shape for wide strokes.
As a rough benchmark, a decent metal sharpener should produce a clean point in one to three twists without a grinding or crunching sound. If you hear crunching, the blade is likely dull or the pencil is too soft for that sharpener, and you are better off finishing the point on a sandpaper block instead of forcing more twists.
If you are just getting started with pencil selection, see our guide to the best drawing supplies for beginners for more on what is actually worth buying.
How to Sharpen a Drawing Pencil with a Knife
A craft knife (sometimes called a utility knife or X-Acto knife) is the tool most often used to produce a long point. It takes practice, but once you have the feel for it, you can shape the tip exactly the way you want it.
Safety note first: always cut away from your body. Keep fingers behind the blade at all times. Rest the pencil on a table or your thigh if that helps stabilize it, but never hold the pencil in a fist and draw the blade toward your palm. Go slowly. If you are using a snap-off utility knife, Wikipedia's entry on the utility knife notes that the segments break cleanly along built-in score lines, which is worth knowing so a dull tip does not tempt you into pressing harder instead of simply snapping off the worn segment and starting fresh with a sharp edge.
Here is a step-by-step knife-sharpening sequence:
- Hold the pencil in your non-dominant hand with the tip pointing away from you at a low angle, roughly 10 to 15 degrees above a flat surface.
- Hold the knife in your dominant hand with your thumb resting on the back of the blade for control. A short, firm grip gives more precision than a loose one.
- Start removing wood, not core. Press the blade gently into the barrel a few centimeters from the end and push forward and slightly outward in a thin shaving. Rotate the pencil a few degrees and repeat. You are trying to taper the wood into a cone, not dig in from one side.
- Work all the way around the barrel in small rotations until you have exposed the core by your desired length.
- Switch to lighter strokes when you reach the core. The graphite core is more fragile than the wood. Shave tiny amounts to taper the core itself to a fine point, rotating as you go.
- Refine on a sandpaper block. Roll the pencil gently on the sandpaper pad to smooth and sharpen the very tip.
The whole process takes two to four minutes when you are learning. With practice it drops to under a minute.
For context on what pencil grades to start with before you even pick up the knife, our explainer on pencil grades covers the H, B, and HB scale in plain terms.
Sharpening Method Comparison
Once you know both methods, the choice usually comes down to what you are drawing that day.
| Method | Speed | Control Over Shape | Best For | Learning Curve |
|---|---|---|---|---|
| Rotary or crank sharpener | Seconds | Low, fixed cone angle | Quick short points, classroom or studio use | Almost none |
| Metal pocket sharpener | Seconds | Low to moderate | Travel sketching, quick touch-ups | Almost none |
| Craft knife | Two to four minutes while learning, under a minute with practice | High, fully custom taper and length | Long points, detail work, chisel tips | Moderate, expect some broken cores at first |
| Sandpaper block | Thirty seconds to refine an existing point | Moderate, shapes the final tip only | Fine-tuning after any method, flattening a chisel edge | Low |
When to Use Each Point in Practice
Knowing the mechanics is one thing. Knowing when to actually reach for a long-pointed pencil takes a bit of drawing experience to develop, but here are some practical starting points.
Reach for a long point when:
- You are drawing fine contour lines or hatching where precision matters
- You want to use the side of the bare core for subtle, smoky tones by rotating the pencil almost flat against the paper
- You are working on a small drawing where the scale requires a sharp, thin tip throughout
Let the point stay shorter when:
- You are blocking in large shadow areas or doing broad hatching
- You are working on rough or textured paper, which will chew through a delicate long point quickly
- You are a complete beginner and still developing pressure control (a shorter point is more forgiving)
One habit worth building early: keep at least two pencils in rotation. Sharpen one to a long point for your detail work, and let the other wear down naturally through use for tonal areas. Switching between them is faster than re-sharpening mid-drawing. A third pencil, deliberately kept blunt with a rounded, worn tip, is also worth having; a dulled point laid nearly flat against the paper covers broad areas fast and produces a softer, less linear texture than a fresh point ever will.
Keeping Your Point in Good Shape While Drawing
Even a carefully sharpened pencil dulls quickly on paper. A few habits will extend the life of your point:
- Rotate the pencil slightly every few strokes. This distributes wear around the whole tip rather than flattening one side.
- Keep a sandpaper block on your table. A few light rolls every five minutes refreshes the tip without removing much material.
- Match the paper to your grade. Coarser, textured papers (often called tooth) are wonderful for soft graphite, but they consume a delicate point much faster than smooth paper. If you are working on rough paper with a 6B, expect to sharpen more often.
- Use a lighter hand for fine lines. Heavy pressure compresses and dulls the tip faster than light, controlled strokes.
If you are curious how graphite compares with other drawing materials in terms of handling and sharpening, take a look at our article on graphite vs charcoal.
Frequently Asked Questions
Can I use a regular pencil sharpener for drawing pencils?
Yes, for a short point. A quality metal or crank sharpener works well for everyday drawing. The limitation is that it will not produce the longer bare-core tip that some artists prefer for fine line work. For those applications you will need a knife or a specialized long-point sharpener.
Why does my pencil core keep breaking when I use a knife?
The most common reason is pressing too hard or at too steep an angle when you first reach the core. Once the wood is removed, the core is exposed and fragile. Switch to very light, shallow strokes when you are shaping the graphite itself, and support the pencil firmly so it does not flex. Dropping a pencil can also crack the internal core without visible damage, making it break repeatedly at the tip.
How long should a long point be?
Somewhere between 8 and 12 mm of exposed core is a common range. Longer than that becomes fragile and breaks with normal drawing pressure. Start at the shorter end and experiment as your knife control improves.
Do I need a special knife, or will any craft knife work?
Any sharp, thin-bladed craft knife works. The key word is sharp. A dull blade tears and crushes rather than cutting cleanly, which is harder to control and damages the core. Replace blades regularly. Snap-off utility knives are practical because a fresh blade segment is always one snap away.
Is one sharpening method better for soft pencils vs hard pencils?
Softer grades (B range and higher, like 4B or 6B) have thicker, more fragile cores that are more likely to snap inside a mechanical sharpener, especially in tight barrel sharpeners. A knife gives you more control over the pressure and angle, making it gentler on soft cores. Hard pencils (H range, like 2H or 4H) have thinner, harder cores and tolerate sharpeners well. That said, plenty of artists use sharpeners for all grades successfully with a slow, careful touch.
How much of the wood should I remove before I start shaping the core?
Aim to expose your target core length plus a couple of millimeters of buffer, then taper the wood into a smooth cone before you touch the graphite at all. Trying to shape the core while wood still surrounds it unevenly on one side is the most common cause of a lopsided, off-center point. Full details on the H-to-B scale that determines how a given core behaves under the blade are in Wikipedia's pencil entry, which is a useful reference the first few times you switch grades.
Should I sharpen both ends of the pencil?
Some artists do, keeping one end as a long point for detail and the other as a short, blunt point for broad shading, switching ends instead of re-sharpening mid-drawing. The tradeoff is that you lose the space to write the grade stamped on the barrel if it happened to be printed near one end, and a double-sharpened pencil is a little more awkward to store upright in a cup. It is a personal preference rather than a rule, and worth trying if you find yourself constantly swapping pencils.