Drawing Basics
How to set up a small home drawing space on a tight budget
A practical home drawing setup for tiny apartments and kitchen tables: light, tilt, chair height, and a tiered list of upgrades from free to modest.
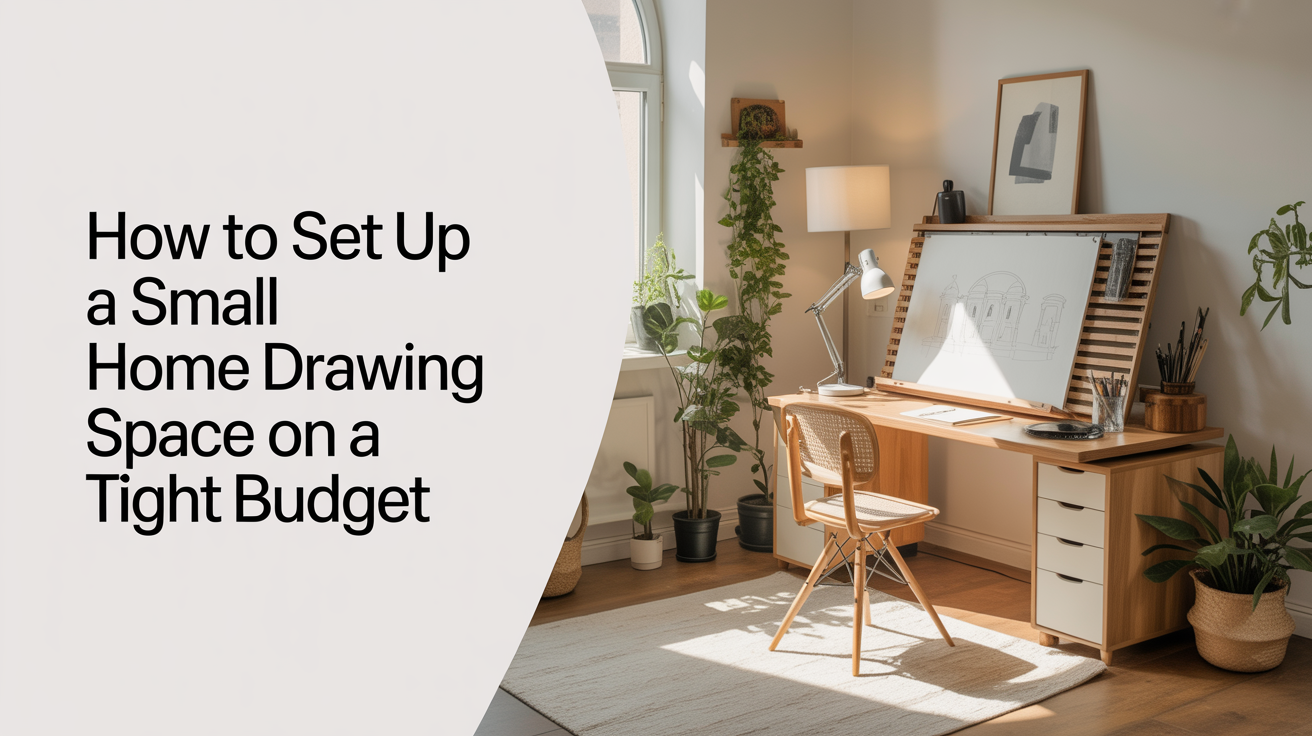
If you draw at the kitchen table and it feels like cheating somehow, it isn't. A good home drawing setup has almost nothing to do with the furniture and almost everything to do with three boring things: light, angle, and how far you have to reach for your pencil. Get those right on a card table in a hallway and you'll draw more, and better, than someone with a beautiful studio they visit twice a month. This guide walks through what actually matters, what's a nice-to-have, and how to upgrade in order instead of buying a drafting table you don't need yet.
Light is the one thing worth fussing over
Of everything in a drawing space, light does the most work. You need enough of it to see your marks clearly, and you need it coming from a direction that doesn't put your own hand in your own way.
Natural light from a window is the easiest option if you have it. Position your table so the window is to your side rather than behind you. Light from behind casts your head and shoulder's shadow straight across the page, and light from directly in front can wash out the paper's texture so you can't judge your values properly. Side light, especially from the opposite side of your drawing hand, lets your hand move across the page without blocking the light source. If you're right-handed, light from the left keeps your hand from dragging a shadow across the line you just drew, and it's reversed if you're left-handed.
Don't have a good window, or draw at night? A single desk lamp with a warm-to-neutral bulb aimed at the page from that same side angle will do the job. You don't need daylight-balanced bulbs or a ring light. Ring lights are built for even lighting on a face for video, which is close to the opposite of what a drawing needs: some shadow is actually useful, because it's how you judge form and value in the first place. A cheap clamp lamp from a hardware store, angled low and to the side, will teach you more about light and shadow than a flat, shadowless glow ever will.
The only real rule here: avoid glare and avoid deep shadow across your working hand. Everything else is adjustable to taste.
Your existing desk and chair are probably fine
A dedicated drafting table with an adjustable tilt is a genuinely nice tool, and also not something a beginner needs to buy. What matters is two much smaller things: a slight tilt to the surface, and a chair height that keeps your wrist relaxed.
Why tilt helps
Drawing flat on a table forces you to look down at a steep angle, which distorts how you see proportion and tightens your neck over a long session. A tilt of even ten or fifteen degrees changes that. You don't need hardware for this. A thick book or a binder propped under the back edge of a sketchbook or drawing board gives you a workable slope for free. If you draw at a kitchen table often, a $10-15 lap desk or an old cutting board wedged at an angle does the same job and stores flat when you're done.
Chair height and wrist position
Sit so your forearm rests close to level with the table surface, wrist relaxed rather than cocked up or bent down hard. If your chair is too low, your elbow ends up above the table and your wrist takes the strain instead of your shoulder and arm. If it's too high, you hunch. A cushion on the seat or a phone book under your feet (yes, still a useful trick) can close a gap that a new chair would otherwise "fix" for a lot more money. This is the kind of comfort issue that's genuinely hard to describe as a number, but you'll know it's wrong because your hand starts to ache or cramp after twenty minutes rather than after an hour.
Put everything within arm's reach
This is the least glamorous piece of advice and probably the most important one for actually building a daily drawing habit: keep your pencils, sharpener, eraser, and current sketchbook close enough to grab without standing up.
Friction kills a practice habit faster than almost anything else. If your pencils live in a drawer across the room, or your sketchbook gets buried under mail, you'll draw less, not because you don't want to but because the five extra steps between you and starting are enough to make you scroll your phone instead. A shoebox, a mug, or a pencil case sitting directly on your table solves this completely. It doesn't need to be organized. It needs to be there.
The same logic applies to your sketchbook. If you're still figuring out which one to commit to, this rundown of what to look for in a first sketchbook covers paper weight and binding without overcomplicating the decision. Whatever you land on, keep it open on the table between sessions rather than shelved. An open sketchbook is an invitation. A closed one is a decision you have to make every single time.
Upgrades, in order, from free to modest
You don't need to buy anything to start. But if you do want to put money into your space, spend it in this order, since each tier solves a real problem the one before it doesn't.
| Tier | Cost | What it fixes |
|---|---|---|
| Free | $0 | Move your table near a window, side-on to the light. Prop your sketchbook on a book for tilt. Put pencils in any container within reach. |
| Low | Under $20 | A clamp lamp with a warm bulb for evening light. A cushion or folded towel to fix chair height. A cheap pencil case to corral supplies. |
| Modest | $20-60 | A lap desk or slanted board for consistent tilt anywhere in the house. A small desk organizer. A second, smaller light to fill in harsh shadow if your main light is very directional. |
| Optional, later | $60 and up | An adjustable drafting table or monitor-arm-style tilting surface, once you know you draw enough to want it. An articulating lamp with dimming. A proper chair if hours at the table are now a regular thing. |
Notice that the "optional, later" tier is exactly that: later. Buy it once your habit has proven it needs the upgrade, not before. Plenty of people skip that tier entirely and never miss it.
What you genuinely don't need to start
It's worth saying plainly: a drafting table, a ring light, a dedicated art room, or a matching furniture set are not requirements. They show up constantly in art supply marketing and in the backgrounds of drawing videos, which makes them feel like a baseline rather than an upgrade. They aren't. If you're deciding what to spend money on first, the actual beginner supply list is a better place to put your first $20-30 than furniture. A pencil, some paper, and light you can see by will get you further in a month than a beautiful desk will get you sitting at it.
Posture and eye strain matter more than how the space looks. A cluttered kitchen table with good light and a relaxed wrist beats a pristine studio corner with a lamp positioned so badly you're squinting by page three. Set up for comfort first, aesthetics never, and let the space grow only as your practice does.
Frequently Asked Questions
Do I need natural light to draw well, or is a lamp enough?
A lamp is enough. Natural light is pleasant and free, but a single warm-toned desk lamp angled from the side of your non-drawing hand does the same job after dark or in a windowless room. What matters is the angle and avoiding harsh shadow across your working hand, not the light's source.
How much should I tilt my drawing surface?
Somewhere around ten to twenty degrees is comfortable for most people, enough to reduce neck strain without your pencils and eraser sliding off. A thick book, a binder, or a cheap lap desk under the back edge of your sketchbook gets you there without buying anything specialized.
Is a standing desk or ergonomic chair worth it for drawing?
Not as a starting purchase. Chair height relative to your table matters far more than whether the chair itself is expensive. A cushion or a stack of books under your feet can fix the same wrist and shoulder strain an ergonomic chair is marketed to solve, at a fraction of the cost.
What's the single cheapest change that makes the biggest difference?
Moving your table so the light comes from the side, and keeping your pencils and sketchbook out on the table instead of put away. Both are free, and both address the two things that most often keep people from actually sitting down to draw.
Can I draw comfortably in a very small space, like a shared room or a corner?
Yes. A corner setup only needs enough room for your elbow to move without hitting a wall and enough light to see your page clearly. A lap desk is especially useful in tight spaces since it removes the need for a dedicated table entirely and can be stored under a bed or in a closet between sessions.