Materials & Tools
Erasers for Drawing: Kneaded, Vinyl, and How to Use Each
Discover the best erasers for drawing—kneaded, vinyl, gum, and more—plus how to use each one to erase cleanly or lift highlights like a pro.
An eraser is not just a mistake-remover. Used intentionally, it's a drawing tool in its own right, capable of pulling highlights out of a shaded area, softening edges, and controlling tone. Knowing which eraser to reach for, and how to handle it, will change the way you work.
The Main Types of Erasers for Drawing
Most art supply shops carry four or five eraser types. They're not interchangeable, and each has a distinct behavior on paper.
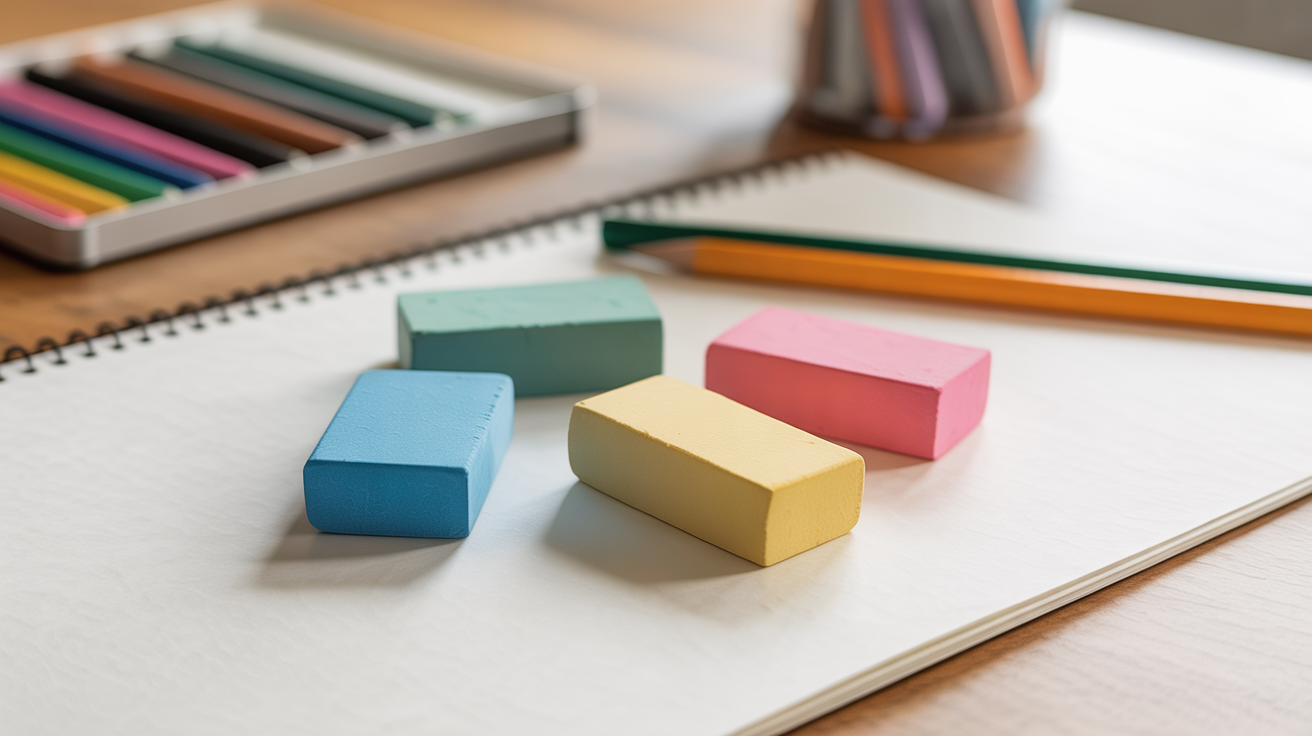
Kneaded eraser. This is the grey or putty-colored lump that looks like soft clay. It lifts graphite or charcoal rather than grinding it off, which means it rarely damages the paper surface. You can reshape it into a fine point to erase small areas, or flatten it to cover a broad patch. It's the single most versatile eraser a beginner can own, and it costs almost nothing. More on how to use it below.
Vinyl (plastic) eraser. Firm, white, and very clean-cutting. A vinyl eraser removes graphite completely from smooth or medium-texture paper without leaving the pink smear you get from a school eraser. It's the right pick when you need a hard, defined edge, but it can roughen paper if you scrub too aggressively.
Gum eraser. Crumbly and soft, almost like dried bread. Gum erasers are gentle on paper, which makes them a decent choice for delicate surfaces, but they wear down quickly and leave a lot of debris. Less common in practice than kneaded or vinyl.
Pencil eraser (click eraser). Shaped like a mechanical pencil with a refillable vinyl eraser rod inside. Click erasers give you precise control, so they're useful for erasing a single line in a tight area or pulling a thin highlight out of a toned background.
Eraser shield. Not an eraser itself, but a thin metal or plastic stencil with various cutout shapes. You hold it flat against the paper and erase through the opening, protecting the marks around it. Useful for cleaning up edges without touching adjacent shading.
See the beginner supply overview if you want context on how erasers fit into a starter kit.
Eraser Types at a Glance
| Eraser Type | Best For | Watch Out For |
|---|---|---|
| Kneaded | Lifting highlights, softening tone, charcoal | Won't fully remove dark graphite lines |
| Vinyl/Plastic | Clean full removal, sharp edges | Can roughen paper if scrubbed hard |
| Gum | Delicate paper surfaces | Wears fast, leaves lots of crumbs |
| Click/Pencil | Precise line removal, tight spaces | Thin rod can tear wet or thin paper |
| Eraser shield (+ any eraser) | Protecting nearby marks while erasing | Requires a steady hand |
How to Use a Kneaded Eraser
Kneaded erasers work differently from every other type. Instead of scrubbing, you press and lift. Here's the practical sequence:
Condition it first. Warm the eraser in your hands for a minute and work it like putty until it's pliable. Cold kneaded erasers are stiff and won't pick up graphite well.
Dab, don't drag. Press the eraser onto the area you want to lighten, hold for a second, then lift straight up. Repeat. This subtractive technique (removing pigment from the surface rather than drawing over it) gives you soft, graduated lightening rather than a hard edge.
Shape it for detail. Pull the eraser into a thin point or a thin wedge. Press that edge into your drawing to pull a fine highlight out of a shaded passage, the reflection on the edge of a glass, a strand of hair against a dark background, the glint on an eye.
Fold it to clean it. When the surface gets dark with absorbed graphite, knead the eraser so the dirty part folds inward. The clean material comes to the outside. Kneaded erasers essentially self-clean this way. You only need to replace one when it's so saturated it stops lifting.
Use it to soften tone. Lightly pressing and dragging (rather than dabbing) blurs a transition between a shaded area and a lighter one. This is one of the fastest ways to get a smooth gradient in graphite without blending stumps.
If you're working with charcoal instead of graphite, a kneaded eraser is even more effective because charcoal sits loosely on the paper. See graphite vs. charcoal for a fuller comparison of how the two media behave.
When to Choose Vinyl Instead
A kneaded eraser won't fully remove dark graphite marks, especially from harder pencil grades like 2H or 4H, which press graphite deep into the paper tooth. That's when you want a vinyl eraser.
Use short strokes with moderate pressure rather than long scrubbing motions. Going too hard in one direction can pill the paper surface, leaving a rough patch that accepts graphite unevenly afterward. If you're erasing near a finished area you want to keep, lay an eraser shield over it first.
Understanding pencil grades helps here. A 6B leaves a thick, waxy deposit that a kneaded eraser handles easily. A 4H cuts into the paper more, and you may need a vinyl eraser to clean it up fully. The pencil grades guide explains the full H-to-B scale.
Caring for Your Erasers
Kneaded eraser: Store it in its plastic case or a small zip bag. Left out, it collects dust and lint. Never leave it in direct sun or a hot car; it melts into a sticky blob.
Vinyl eraser: Keep the paper sleeve on to protect the unused portion. Brush the crumbs off your drawing surface rather than smearing them with your hand.
Click eraser: Replace the rod when it gets too short to grip properly. Using a stub puts your fingers close to the paper and makes control harder.
All erasers last longer if you brush or blow the debris away between passes. Eraser crumbs dragged across a drawing smear the graphite underneath.
Frequently Asked Questions
What's the best eraser for drawing as a beginner? Start with a kneaded eraser. It's gentle, versatile, cheap, and teaches you to think of erasing as part of the drawing process rather than a panic response to mistakes. Add a vinyl eraser for when you need clean, complete removal.
How do you use a kneaded eraser to create highlights? Shape the eraser into a fine point, then press it onto the area where you want a highlight and lift straight up. Repeat lightly until the paper shows through enough. You're removing graphite from the surface rather than drawing over it, so the result looks natural and soft.
Can I use a regular pink eraser for drawing? You can, but it's not ideal. Pink school erasers leave a colored residue, can smear graphite, and tend to roughen the paper. A vinyl eraser does everything a pink eraser does, but cleaner.
Why does my eraser smear instead of lifting? Usually one of two things: the eraser is dirty (fold a kneaded eraser to expose clean material, or wipe a vinyl eraser on a clean sheet), or you're pressing too lightly and dragging instead of lifting. Short, firm strokes with a clean eraser fix most smearing problems.
Do eraser shields actually help? Yes, for specific situations. If you've built up careful shading around a line you need to erase, a shield protects the neighboring work. They're not something you'll use on every drawing, but they're cheap and compact enough to keep in a pencil case.