Materials & Tools
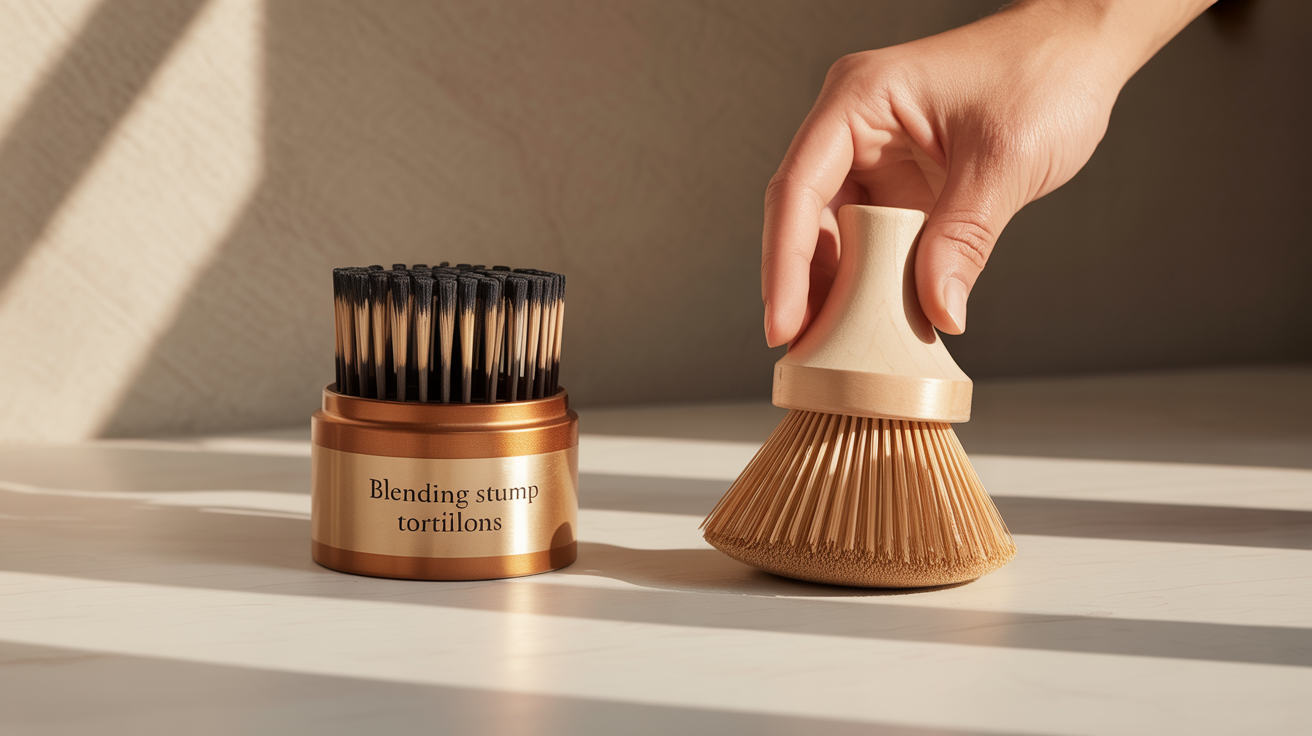
Blending Stumps and Tortillons: What They Are and How to Use Them
Learn the difference between a blending stump and a tortillon, how to use each one, and which blending tool suits your drawing style.
If you have ever wanted smoother shading in your drawings but felt like your finger smudging was too unpredictable, blending stumps and tortillons are worth learning about. Both are small paper tools designed to push and blend graphite (or charcoal) across a surface, giving you more control than bare skin allows. They look similar at first glance, but they behave differently, and knowing when to reach for each one makes a real difference.
What Is a Blending Stump?
A blending stump is a tightly compressed rod of soft gray paper with a pointed tip at each end. The paper is wound and compressed so densely that the tool feels almost rigid. You can use one tip until it gets dirty, then flip it to the clean end. When both ends are saturated with graphite, you can reshape and clean the tip by sanding it on a scrap piece of paper or a fine sandpaper block.
Because stumps are firm, they hold their point well and can handle a fair amount of pressure. They work best for blending areas that have already been built up with a medium or heavy layer of graphite. If the graphite layer is too light, a stump may not pick up enough material to actually blend anything.
What Is a Tortillon?
A tortillon (sometimes called a paper stump or paper blending tool) is made from a single sheet of paper rolled into a tight cone with a hollow center. This hollow construction makes it lighter and slightly more flexible than a blending stump. Tortillons typically have one pointed tip and one blunt end.
Because the tip is conical and hollow, it compresses under pressure, which makes it behave differently from the solid stump. Tortillons are generally softer in their effect and well suited to lighter graphite applications. They are also harder to clean thoroughly since you cannot sand a hollow core the same way. Many artists simply rotate the tool to expose a fresher section of paper as the tip fills with graphite.
Blending Stump vs Tortillon: Key Differences
| Feature | Blending Stump | Tortillon |
|---|---|---|
| Construction | Solid compressed paper, two tips | Hollow rolled paper, one tip |
| Feel | Firm, rigid | Lighter, slightly flexible |
| Best for | Heavy graphite layers, controlled detail | Light layers, soft gradients |
| Cleaning | Sand tip on scrap paper | Rotate to fresh area, discard when spent |
| Tip durability | High | Lower, tip compresses with use |
| Size options | Many (XS to large) | Fewer, usually small to medium |
Neither tool is objectively better. A stump gives you more precision and longevity; a tortillon gives you a softer, faster blend on lighter marks. Many people who draw regularly keep both on hand and switch depending on the moment.
How to Use a Blending Stump
Using a blending stump effectively comes down to building up graphite first, then working the tool in deliberate strokes. Here is a simple process to start with:
-
Lay down your graphite first. Shade an area with your pencil before you reach for the stump. The stump can only blend what is already there. A medium layer (something like a 2B or 4B) gives the tool material to work with. Check out pencil grades explained if you are unsure which grade to use.
-
Hold the stump loosely near the middle. Avoid gripping it tightly near the tip. A relaxed grip lets you apply gentle, even pressure and reduces the chance of tearing the paper surface or creating harsh streaks.
-
Use small circular or linear strokes. Circular strokes soften and even out tonal areas. Linear strokes follow the direction of your shading marks and are useful when you want the blend to feel directional rather than smooth in all directions.
-
Work from light areas toward dark ones. The stump carries graphite on its tip, so dragging it from a dark region into a lighter one deposits dark material where you may not want it. Start on the lighter side of a gradient and pull toward the darker area.
-
Vary your pressure. Light pressure gives a subtle, airy blend. Heavier pressure presses more graphite into the tooth of the paper (tooth refers to the slight texture of the paper surface that holds graphite in place). Experiment with pressure on a practice sheet before committing to your drawing.
-
Clean or reshape when needed. When the tip looks shiny with accumulated graphite and stops blending cleanly, rub it a few times on a scrap piece of paper or a sandpaper pad. This exposes fresh paper underneath and restores the tip's ability to move graphite smoothly.
How to Use a Tortillon
Tortillons follow a similar logic but suit lighter-touch situations.
-
Use them on light to medium graphite layers. Tortillons work well on the softer, thinner marks you might make with an H or HB pencil when building up an early layer of a drawing.
-
Keep pressure gentle. Because the tip is hollow, pressing too hard collapses the cone and leaves an uneven smear. Think of it as skimming the surface rather than pressing into it.
-
Rotate the tool as the tip fills. Unlike a stump, you cannot easily sand a tortillon clean. Instead, rotate it slightly in your fingers to bring a fresher section of paper to the tip. Once the whole tip is saturated, set it aside or discard it.
-
Use small tortillons for detail work. Tortillons come in sizes as small as a toothpick. Tiny ones let you work in small areas like the corner of an eye or the edge of a leaf without disturbing the surrounding shading.
When to Skip the Blending Tool Altogether
Blending tools are useful, but they are not always the right answer. Some drawing styles benefit from visible pencil strokes and texture rather than smoothed gradients. Hatching and cross-hatching, for example, build up value (the range from light to dark in a drawing) through layered lines rather than blended tone. If you blend hatch marks aggressively, you lose the structure that made them interesting.
Also, blending stumps and tortillons primarily move graphite that is already on the surface. They do not add material on their own. If your shading looks flat after blending, the fix is usually to add more pencil marks and then blend again, not to press harder with the tool.
For a broader look at what to keep in your kit without overcomplicating things, the best drawing supplies for beginners covers the essentials without a long shopping list.
If you also work with charcoal, blending stumps and tortillons transfer directly to that medium. Graphite vs charcoal explains the core differences between the two materials if you are deciding which to focus on first.
Frequently Asked Questions
Can I use my finger instead of a blending stump? Yes, and many artists do. Fingers are warm, slightly oily, and move graphite quickly. The tradeoff is that you have less control over how much pressure you apply, and skin oils can affect how graphite adheres to the paper over time. For small areas or fine gradients, a stump gives you more precision. For large background areas where speed matters, a finger works fine.
How do I clean a blending stump that is completely saturated? Rub the tip firmly against a fine sandpaper block (the kind sold at art shops as a point-sharpening pad) or the side of a piece of scrap paper. This removes the outer layer of graphite-loaded paper and exposes a cleaner surface underneath. You can do this multiple times before a stump becomes too worn to use. Stumps are inexpensive enough that replacing them periodically is not a burden.
Will a blending stump smear my pencil lines and ruin the drawing? It can if you are not deliberate about where you apply it. The key is to use the stump only where you want blending to occur and to keep its tip away from crisp lines you want to preserve. You can also use a piece of clean paper as a guard: place it over the area you want to protect and blend right up to the edge without crossing it.
Do blending stumps work with colored pencils? Not reliably. Colored pencils use a wax or oil binder that does not respond the same way graphite does. A blending stump may pick up a little color but will not create the smooth gradients it produces with graphite or charcoal. Colorless blender pencils are designed specifically for colored pencil work.
What size blending stump should a beginner start with? A medium size (roughly pencil-diameter at the widest point) handles most situations and is easy to control. Once you are comfortable with the technique, a smaller size helps with detail areas and a larger one speeds up work on broad background tones. Starting with one medium stump is enough to learn on.