Drawing Basics
Negative Space Drawing: A Beginner's Exercise
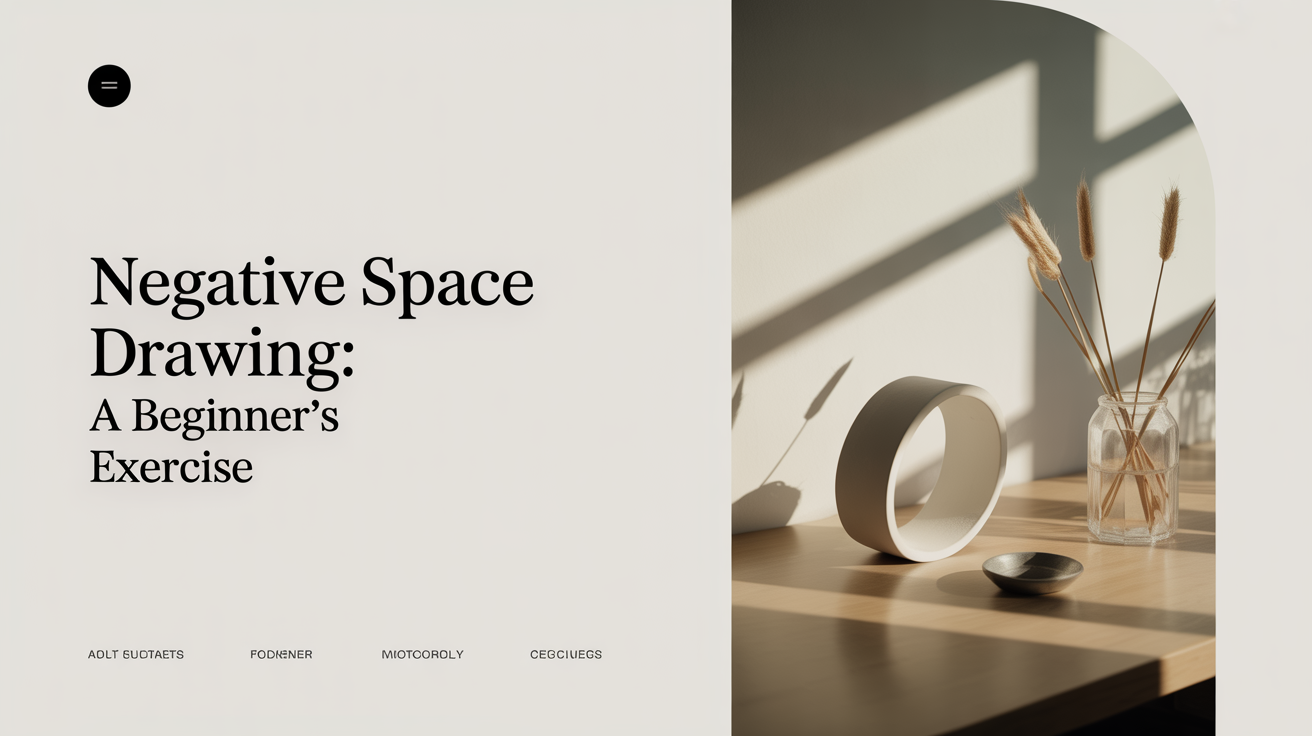
Learn negative space drawing with this beginner exercise. Shift your focus from objects to the shapes around them and watch your accuracy improve fast.
Most beginners stare hard at the thing they want to draw. A chair leg, a hand, a coffee mug. The result is often a drawing that looks a little off, even though the effort was real. Negative space drawing flips that habit on its head. Instead of drawing the object, you draw the empty shapes around it. The results tend to be more accurate, and the exercise teaches you to look at the world differently every time you sit down with a pencil.
This guide explains what negative space is, why it matters, and how to run a simple negative space exercise that you can repeat with almost any subject.
What Negative Space Actually Means
In drawing, the term positive space refers to the main subject itself: the chair, the hand, the mug. Negative space is everything around and between those objects. It is the shape of air, the gap between your fingers, the triangle of space beneath a table leg.
Negative space is not empty or unimportant. It is an active shape with edges, corners, and proportions, and it can be drawn just as precisely as the object it surrounds.
When you train yourself to see and draw those surrounding shapes, something useful happens. Your brain stops relying on stored symbols for "chair leg" or "hand" and starts paying attention to the actual edges in front of you. That shift is one of the most practical things a beginner can do to improve accuracy.
Why This Exercise Helps More Than It Seems
The brain is a pattern-matching machine. The moment it recognizes an object, it tends to fall back on a simplified mental image of that thing rather than look at what is actually there. That mental shortcut is why so many drawings look like diagrams rather than observations.
Drawing the space around an object sidesteps that shortcut. There is no mental symbol for "the gap between the chair back and the armrest." You have to look. You have to measure with your eyes. The resulting lines end up in the right place more often than they do when you draw the object directly.
Practiced regularly, this exercise also builds the habit of checking both sides of every edge. Wherever a line separates positive from negative space, both sides should look right. That double-check is a quiet but reliable accuracy test you can run on any drawing.
Setting Up a Negative Space Exercise
You do not need any special materials. A piece of paper, a pencil in the HB to 2B range, and something to look at will do the job.
Choose a subject with clear gaps. A folding chair is a classic choice because it has several distinct holes: the open space inside the back frame, the triangles between the legs. A potted plant works well too. An open hand held in front of a window offers curved negative shapes that provide a real challenge.
Avoid subjects with very small gaps at first. Tangled objects or objects placed very close together will frustrate a beginner before the exercise pays off. Give yourself room to see and draw distinct shapes.
Set up a border. Lightly draw a rectangle on your paper before you begin. This becomes the frame your composition lives inside, and it gives every negative shape a clear outer boundary. Without a frame, it is hard to know where a negative shape ends.
How to Draw Negative Space Step by Step
- Look at the gaps, not the object. Identify the most obvious negative shape: the largest open area near or around your subject. Study its outline.
- Draw that outline. Start with one edge and follow it slowly. You are tracing the boundary of the empty shape, not the edge of the object. If the two coincide, that is fine; the key is what you are paying attention to.
- Move to an adjacent negative shape. Once the first shape is down, look at what connects to it. Continue filling in the negative areas one at a time.
- Check as you go. Glance back at the positive form periodically. If the object is starting to look recognizable even though you have only drawn around it, you are on the right track.
- Fill in or leave the negative shapes. Some artists shade the negative areas with light hatching to make the positive form pop. Others leave the negative shapes as open outlines. Try both and see which tells you more.
- Finish with a comparison. Hold your drawing up next to the subject (or take a photo and compare). Notice which negative shapes came out accurately and which ones drifted. That comparison is the real feedback.
A Simple Warm-Up: The Chair Back Exercise
If you want a concrete starting point, the chair back exercise is one of the most-used negative space drills in drawing classes.
- Place a folding or ladder-back chair against a plain wall.
- Sit about two meters away so the whole chair fits comfortably in your field of view.
- Draw the frame outline of your paper, then spend five minutes just looking. Count the negative shapes inside the chair back. Name them to yourself: top rectangle, left triangle, right triangle.
- Begin drawing only those internal shapes. Do not let yourself trace the legs or the back rail directly.
- When the internal shapes are done, notice that the chair itself has appeared on the page without you drawing it.
This exercise takes ten to fifteen minutes the first time and gets faster as your eye gets more practiced. Repeat it with different chairs, different plants, or the space between objects on a shelf.
For additional line-control practice to go alongside this exercise, see how to draw straight lines and smooth curves by hand. Better line quality will make your negative shape outlines cleaner and easier to read.
Combining Negative Space with Contour Drawing
Negative space drawing and contour drawing are natural partners. Contour drawing traces the edges of a form by following them slowly and deliberately, often without lifting the pencil from the page. When you apply that same patient, edge-following attention to the negative shapes around an object, you get the sharpest version of both exercises at once.
Try this combination: do a short blind contour of your subject first, then turn the page and draw only the negative spaces around the same subject. Compare the two drawings. The contour version will likely capture the gesture and feel of the object. The negative space version will often be more accurate in proportion. Together they describe the subject from two complementary angles.
If you have been working on gesture drawing for figures, negative space is especially useful for hands and the spaces between bent limbs, areas where symbolic thinking most often distorts a drawing.
Frequently Asked Questions
Do I need to shade the negative shapes, or just outline them?
Outlining is enough to get the benefits of the exercise. Shading the negative areas can help you see the positive form more clearly, because the contrast makes it pop, but it is optional. Try a few drawings each way and see which version you find more useful.
What if I still keep drawing the object instead of the space around it?
This is common at the start. One trick is to cover part of the subject with a piece of scrap paper so only the negative shapes are visible, then uncover it section by section. Another is to consciously narrate what you are drawing: say to yourself "I am drawing the triangular gap, not the leg." The verbal reminder helps interrupt the habit.
Can I use reference photos instead of a live setup?
Yes. Photos with strong contrast between the subject and background make the negative shapes very readable. The only drawback is that a flat image removes the depth cues a real object provides, so it is slightly easier. Use photos when you do not have a good subject handy, but try live objects when you can.
How often should I do this exercise?
Five to ten minutes at the start of a drawing session is enough to shift your eye into observational mode. You do not need to dedicate whole sessions to it. Think of it as a warm-up rather than a separate discipline.
Does this work for drawing faces and figures, not just objects?
It works very well for both. The spaces between fingers, the shape of air inside a bent elbow, the gap between a jaw and a collar: all of these are negative shapes that can anchor your proportions. For figures in particular, getting the negative shapes right often fixes proportion problems that direct observation alone did not catch.