Drawing Basics
How to Sketch Loosely Before Committing to Lines
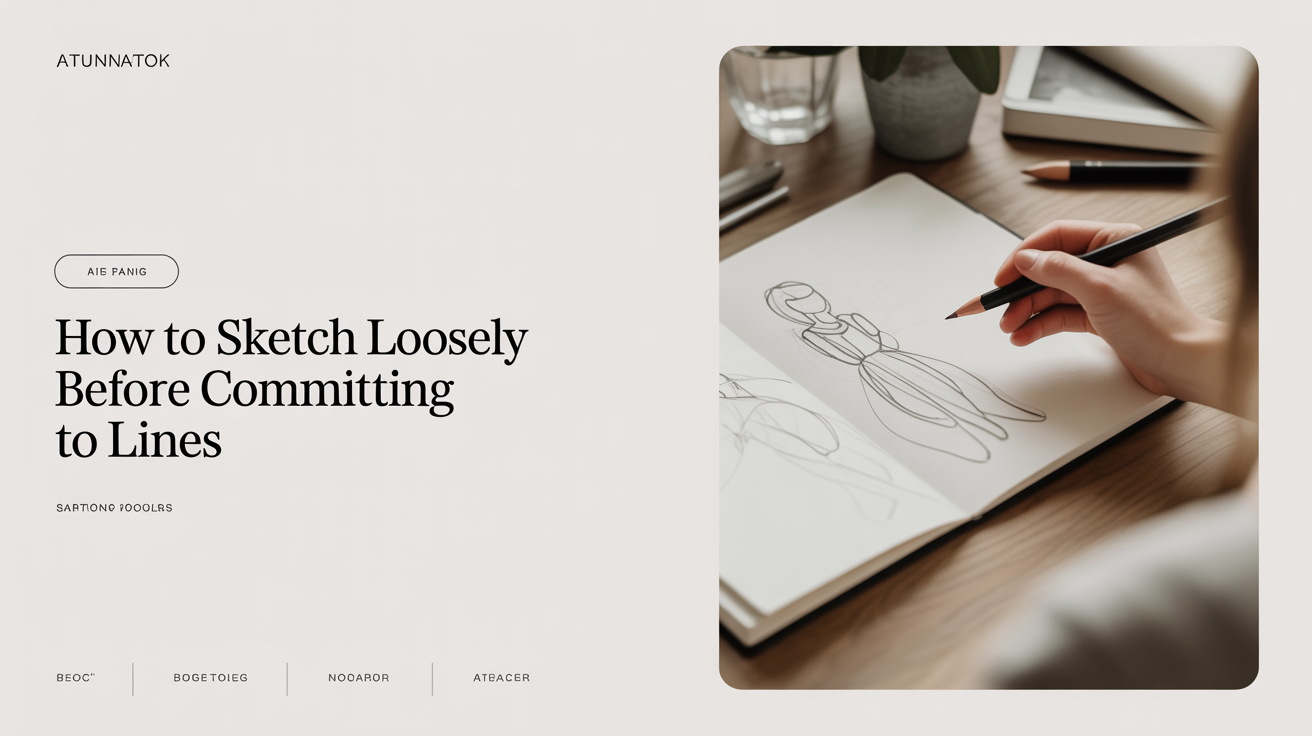
Learn how to sketch loosely with light underdrawing and rough construction lines before committing to final marks. A practical guide for beginner drawers.
One of the fastest ways to make drawing feel stiff and frustrating is to treat every line like it has to be final. Professional artists rarely commit to a line on the first pass. They sketch loosely, lay down rough shapes, adjust, and only then press harder for the lines they want to keep. This guide walks you through that process step by step so you can start doing the same.
What "Sketching Loosely" Actually Means
Loose sketching means making exploratory, low-pressure marks before you commit to a finished line. Think of it as a conversation with the page rather than a declaration.
When you sketch loosely, you are working in two stages. First, you place rough shapes and proportions with a very light touch. Second, once you are satisfied with the placement, you trace over those light marks with more deliberate, confident lines. The rough layer is called an underdrawing (marks made lightly beneath what will become the final drawing). Many artists also use the term construction lines to describe the simple shapes, boxes, and centerlines they use to block in a subject before adding detail.
The key insight is that shaky, exploratory lines are not a sign of failure. They are part of the process. Every experienced drawer has a sketchbook full of scratchy underdrawings.
What You Need to Get Started
You do not need special materials, but a few basic choices make loose sketching much easier.
Pencil grade: Start with an HB or 2B pencil. HB is a middle-ground hardness that erases cleanly. A 2B is slightly softer and darker, which makes it easier to see your rough marks without pressing hard. Avoid very hard pencils (3H, 4H) for this stage. Hard pencils require more pressure to show up, which works against the light touch you want.
Paper: Plain printer paper or a basic sketchbook works fine. You do not need textured watercolor paper or anything expensive. A smooth or lightly textured surface lets you move the pencil freely without catching.
Grip: Hold the pencil further back from the tip than you normally would for writing. Gripping near the end of the barrel gives your wrist more freedom to move and naturally reduces the pressure you apply.
How to Sketch Loosely: A Step-by-Step Process
This approach works for almost any subject, from a simple object on a table to a portrait.
-
Start with the lightest touch you can manage. Your first marks should be barely visible. If you erase them right now, the page should look nearly clean. This is your safety net.
-
Block in the overall shape first. Before drawing any detail, place a loose outline or simple geometric shape that captures the general size and position of your subject. A face might start as an oval. A cup might start as a rectangle. This is pure proportion work.
-
Add centerlines and landmark points. A centerline down the middle of a face helps you place the eyes symmetrically. A horizontal line at eye level helps you check that both eyes sit at the same height. These construction lines are guides, not outlines.
-
Sketch the big shapes before small shapes. Work from large to small. Place the body of a tree before you draw any branches. Establish the basic torso before you sketch fingers. Details drawn too early tend to lock in proportions that are off.
-
Check your proportions before you continue. Step back or hold your pencil at arm's length to compare distances. Adjust any shapes that look wrong. Because your marks are light, these corrections are easy.
-
Layer darker lines only when the underdrawing feels right. Once the rough structure looks good, press slightly harder to go over the lines you want to keep. You are tracing your own sketch and making deliberate choices about what stays.
-
Erase the underdrawing. A soft eraser (a kneaded eraser works well here) lifts the light marks without disturbing the slightly darker lines on top.
Common Mistakes Beginners Make
Pressing too hard from the start. If your first marks are dark and confident, every error becomes a problem to fix rather than a note to revise. Practice setting your pencil on the paper with almost no pressure at all.
Skipping straight to details. Drawing an eye in detail before the head shape is placed correctly almost always leads to proportion problems. Details have to live somewhere, and that somewhere needs to be established first.
Erasing too aggressively. Constant erasing interrupts your flow and can damage the paper surface. In loose sketching, a wrong mark is just information. Leave it, draw over it, and let the revision mark tell you what you are learning.
Expecting clean results too soon. A loose sketch is supposed to look rough. The rough sketch before the final is where you solve problems so the final drawing does not have to.
For related practice, try contour drawing for beginners and blind contour, which trains the same patient, exploratory approach with a different constraint.
How Loose Sketching Connects to Gesture Drawing
Gesture drawing (capturing the energy, weight, and movement of a subject quickly, usually in 30 seconds to two minutes) is one of the most useful exercises for developing a loose hand. When you only have 30 seconds, you cannot be precious about your lines. You learn to commit to a general shape and keep moving.
Even if you are drawing still objects rather than figures, the mindset carries over. A loose sketch of a chair should capture the lean of the seat, the relative height of the legs, and the general mass of the whole thing before you worry about any single leg's exact curvature.
If you want to practice capturing shape and position quickly, gesture drawing: how to capture a pose fast covers that approach in more depth.
Once your underdrawing is settled and you are ready to commit to cleaner, more controlled marks, the techniques in how to draw straight lines and smooth curves by hand will help you finish with confidence.
Building the Habit
Loose sketching is a habit more than a technique. The physical process takes about ten minutes to understand. The harder part is giving yourself permission to make rough, provisional marks instead of trying to get everything right on the first pass.
A practical way to build this habit: fill one page in a sketchbook with underdrawings only. Do not finish any of them. Just practice the first stage, the light rough-in, on different objects around you. A mug, a chair, a hand, whatever is nearby. Your only goal is light marks that capture proportions. Stop before you refine anything.
After a week of this, finishing a drawing will feel very different. The underdrawing stage stops feeling like wasted time and starts feeling like the part where you solve the hard problems before they become expensive mistakes.
Frequently Asked Questions
Do I have to erase the underdrawing when I am done?
Not always. Some artists leave visible underdrawing as part of the aesthetic of a sketch. The marks add energy and show the process. Whether you erase depends on your intention: if you want a clean final drawing, erase. If you are working in a sketchbook and value the looseness, leave them.
What pencil grade is best for an underdrawing?
An HB or 2B is a reliable starting point. Some artists prefer a 4H for underdrawing because the very light marks nearly disappear under darker lines. Experiment with what erases cleanly on your specific paper.
My loose sketches look terrible. Does that mean I am doing it wrong?
No. A loose sketch is supposed to look rough and provisional. The goal is accurate proportions and placement, not beautiful marks. If your rough sketch looks messy but the proportions are roughly right, it has done its job.
How light should my underdrawing marks really be?
Light enough that if you stopped right now and showed the page to someone across the room, they would not be able to read the marks clearly. If you can see them from a normal working distance, that is fine. If someone two meters away can read them clearly, press lighter.
Can I do an underdrawing with a pen?
Yes, though it takes practice. Non-photo blue pens or very light gray markers are traditional choices because some scanners do not pick them up. With a standard ballpoint, you have to work confidently enough that the underdrawing lines blend into the finished piece or become part of the style. Most beginners find pencil easier to start with because it is erasable.