Getting Started
Drawing Warm-Up Exercises to Loosen Your Hand
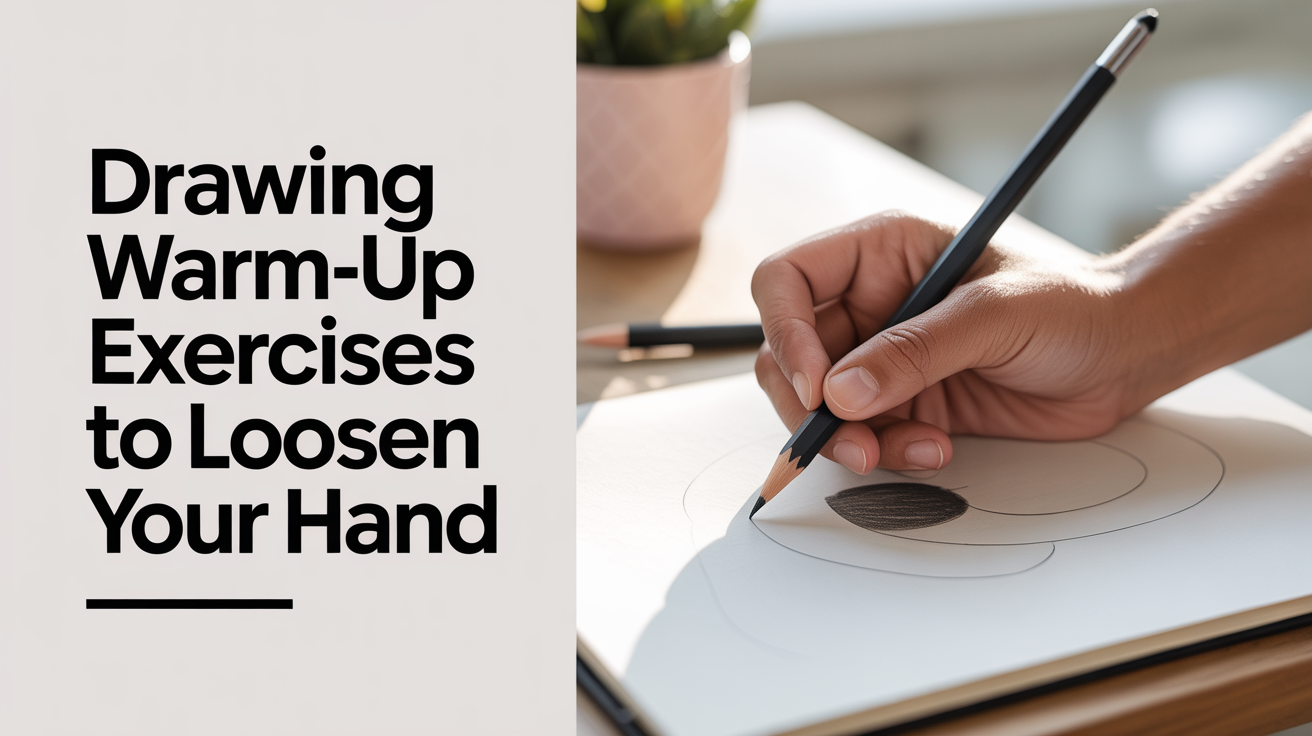
Try these drawing warm up exercises before every session. 5 minutes of lines, ovals, and spirals loosens your arm and gets marks flowing confidently.
Five to ten minutes of warm-up drawing before a real session makes a bigger difference than most beginners expect. Your arm loosens, your grip relaxes, and the first marks on your actual page stop feeling so precious. Think of it the way a musician runs scales before playing a song.
Why Warm-Ups Actually Help
When you sit down to draw cold, your shoulder and forearm muscles are tight. You grip the pencil harder than you need to, which shortens your stroke and makes lines shaky. Warm-up drawing shifts control from your fingers (which produce cramped, wobbly marks) to your whole arm (which produces smooth, confident ones).
There's also a mental side to it. A blank sheet earns too much respect when you're just starting out, and that respect turns into hesitation. Filling a warm-up page with deliberate scribbles burns off the anxiety before it can follow you into the real drawing.
If you haven't thought much about how you hold the pencil, it's worth a quick read before you warm up: how to hold a pencil for drawing (not like writing). The grip you use during warm-ups is the same one that will carry over to everything else.
The Core Drills
Keep a dedicated warm-up sheet. You don't need to tear it out or keep it; you just need a place where marks don't matter. Here are the drills worth doing regularly.
Parallel lines (horizontal and vertical) Draw rows of straight lines across the page without a ruler, aiming for even spacing. Don't watch your pencil tip. Fix your gaze on where the line needs to end and let your arm move toward it. This trains you to draw through a stroke rather than inching along it. Do a row left-to-right, then a row top-to-bottom.
Ovals and ellipses An ellipse is just a circle seen from an angle, and you'll use them constantly for cups, bottles, eyes, wheels, and dozens of other subjects. Draw them loosely by moving your whole forearm in a repeating oval path before you even touch the paper (this "ghosting" technique means rehearsing the motion in the air, then lowering the pencil once the movement feels natural). Fill a row with small ellipses, then a row with larger ones. They won't be perfect. That's fine.
Ghosting method circles Ghost the motion, then commit. Try to close the circle cleanly. Most beginners leave a gap or cross over; both are normal at first. The goal is to stop steering mid-stroke.
Spirals Start at the center and work outward, keeping the gap between each revolution even. Spirals demand slow, controlled arm movement and are excellent for calming a jittery hand.
Hatching and cross-hatching Draw a patch of parallel lines, then a second layer at 45 degrees over the top. This warms up directional control and also trains the light pressure you'll need for shading. Vary the spacing to create different tones.
Value swatches A value swatch is a small rectangle shaded from very light (barely touching the paper) to very dark (heavy pressure). Run through three or four of these to remind your hand what the full pressure range feels like before you commit it to a real drawing.
A 5-Minute Routine You Can Follow Right Now
This sequence uses every drill above and fits in five minutes. Time it once so you know how fast it moves.
- Parallel lines, horizontal (45 seconds): Two rows across the page, aiming for straight and evenly spaced.
- Parallel lines, vertical (45 seconds): Same thing rotated 90 degrees.
- Ovals, small (30 seconds): A row of oval shapes, ghosted before each one lands.
- Ovals, large (30 seconds): Same motion, bigger loops.
- Ghosting circles (30 seconds): Try to close each circle cleanly; notice where you exit the path.
- Spirals (30 seconds): Two or three, working outward from the center.
- Hatching patch (30 seconds): A small rectangle, one direction, even spacing.
- Value swatch (1 minute): One rectangle, lightest on the left, darkest on the right.
That's it. Your hand is warm. Your first real mark will feel more deliberate than it would have cold.
How to Actually Loosen Up (Not Just Fill the Page)
The mistake most beginners make is doing warm-ups with the same tight grip they use for writing. The whole point of hand warm-ups for drawing is to practice a different relationship with the pencil.
Hold the pencil further back than feels natural. Let it rest on the side of your middle finger rather than pinching it between the tip of your thumb and index finger. When you draw lines, move from the elbow, not the wrist. It feels awkward the first few times. That awkwardness is exactly where progress lives.
Draw bigger than you think you should. A line that travels six inches across a warm-up page trains your arm far more than a two-inch line does. Go slow enough to stay controlled but fast enough that you're not steering each millimeter.
One more thing: warm-ups are supposed to look bad. A page of slightly wobbly parallels and lopsided ovals is a page that worked. You loosened up. If you ever flip back through old warm-up sheets and notice the lines getting straighter and the circles getting rounder over weeks, that's real progress appearing on paper.
For a broader look at where drawing skills come from, learning to see (the skill behind every drawing) covers why observation is the foundation that makes all of this practice add up. And if you're still finding your footing as a complete beginner, the full guide on how to start drawing is a good companion to this one.
Frequently Asked Questions
Do I need to warm up every single time I draw? Not strictly, but you'll notice a difference when you skip it. Short sessions of 20 minutes or less might not need a full warm-up, but if you're sitting down for an hour or more, five minutes of lines and ovals is worth it.
Can I use my warm-up sheet for other exercises too? Absolutely. Some people use the same sheet all week and treat it as a dedicated practice page. Others grab a fresh sheet each day. There's no rule, as long as you're not holding back because the paper feels too nice.
My lines are still shaky after warming up. What am I doing wrong? Usually it's grip pressure or wrist movement. Try holding the pencil more loosely and making your strokes come from your elbow rather than bending your wrist. Sketching at a slightly larger scale also helps because small movements amplify every tremor.
Should I warm up with the same pencil I draw with? It helps to use the same pencil so the pressure and feel are familiar. But if you normally draw with a 2B and only have an HB nearby, don't skip the warm-up on that account. The motion matters more than the tool.
How long until warm-ups start feeling natural? Most people notice improvement within a couple of weeks of daily practice. The lines get steadier, the ovals start closing better, and the whole routine starts feeling more like a ritual than a chore. That shift usually happens somewhere between day ten and day twenty.