Subjects & Projects
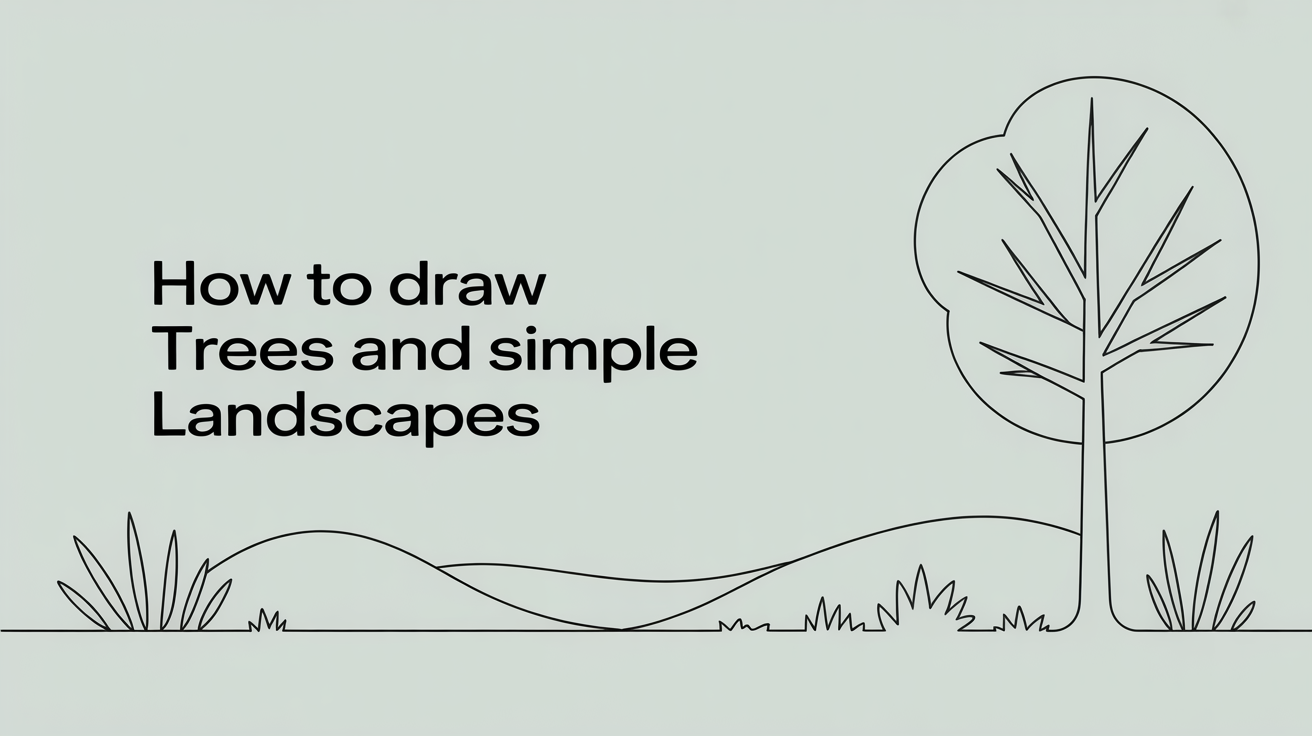
How to Draw Trees and Simple Landscapes
Learn how to draw a tree and simple landscapes step by step. Beginner-friendly techniques for drawing nature with a pencil, from trunk to foliage.
Trees are one of the most forgiving subjects you can practice on. Every tree is slightly irregular, so there is no exact wrong answer. A slightly lopsided branch or an uneven clump of leaves reads as natural, not as a mistake. That makes landscape drawing for beginners a very sensible place to start once you have the basics of mark-making down.
This guide walks through how to draw a tree from trunk to canopy, then shows how to arrange trees inside a simple landscape. You will need a pencil (an HB or 2B works well to start), a sheet of smooth cartridge or sketchbook paper, and an eraser. Nothing else is required.
Start with the Basic Structure of a Tree
Before you reach for details, block out the overall shape. Every tree species has a characteristic silhouette: the rounded dome of an oak, the narrow column of a cypress, the spreading flat top of a mature pine. Identify which general shape you want, then draw it very lightly as a single outline.
Step-by-step for the basic structure:
- Draw a short vertical line for the base of the trunk. Keep pressure light.
- Let the trunk widen slightly at the ground, then taper gently as it rises.
- Where the trunk ends, draw a loose oval, circle, or triangle to represent the mass of the canopy. The word mass here just means the whole volume of leaves treated as one solid shape.
- Look at the outline you have. Does the shape match the species you want? Adjust now, before adding any texture.
At this stage your drawing should look like a lollipop or a rough cloud shape on a stick. That is correct. Details come later.
How to Draw Tree Trunks and Branches
Trunks are not perfectly cylindrical. They twist, lean, and show texture. To suggest roundness without shading the whole trunk, draw a second line slightly inside the main contour on one side. That thin sliver of lighter tone reads as curvature.
For branches visible through gaps in the canopy:
- Let branches fork in a Y shape from the main trunk, then fork again from each arm.
- Make each fork slightly thinner than the one below it.
- Branches arc upward on most hardwood trees; they droop more on willows or mature elms.
Draw only two or three visible branches. Trying to draw every branch makes the finished tree look wiry rather than full.
Adding Foliage Without Drawing Every Leaf
No one draws individual leaves on a finished sketch (unless they are producing a botanical illustration). Instead, you draw groups of leaves as clusters of texture.
A practical foliage method for beginners:
- Within the canopy outline you drew earlier, use a loose scribble motion to fill in the darker interior areas. Press lightly.
- Leave gaps near the outer edge of the canopy and at any spot where light would hit the top of a leaf cluster. These pale patches become your highlights.
- Revisit the interior with slightly heavier pressure to push the shaded areas deeper. Value is the drawing term for how light or dark a tone is.
- Along the bottom edge of the canopy, add a few individual curved scallop shapes to hint at leaf edges. Keep them loose. Four or five is enough.
The result is a canopy that reads as leafy without requiring you to draw thousands of individual marks.
Building a Simple Landscape Around Your Tree
A single tree on a blank page looks like a study. Adding a horizon line and a few basic elements turns it into a landscape drawing.
Composing a basic landscape:
- Draw a faint horizontal line across the page. This is your horizon. Place it about one-third of the way up from the bottom for a grounded, stable scene.
- Position your main tree so the trunk meets the ground somewhere between the centre and one side. Dead centre tends to feel static.
- Add a second smaller tree further back and slightly above the horizon. Because it is further away, draw it shorter and with lighter, less detailed marks. This use of lighter tone and reduced detail to suggest distance is called atmospheric perspective.
- Draw a simple ground plane below the trees: a few horizontal strokes suggest grass; slightly curved lines suggest rolling ground.
- Optionally, add a rough tree line or distant hills near the horizon using very light side-of-pencil strokes. Keep them vague. Detail draws the eye, so the background should have almost none.
A scene with one focal tree, one secondary tree, and a simple ground is enough for a convincing landscape study.
Shading Trees to Create Depth
Without shading, a tree looks flat. With a small amount of value contrast, it starts to look three-dimensional.
Decide on a light source before you begin. Natural choice: light comes from the upper left. That means:
- The upper left side of the canopy is lighter.
- The lower right and interior of the canopy are darker.
- The ground under the canopy has a shadow falling toward the lower right.
Use the side of your pencil lead for large shaded areas rather than the tip. Work in gentle layers. If you have been using an HB, switching to a 2B for the darkest areas adds range without requiring heavy pressure.
One common beginner error is making every part of the tree the same darkness. The lightest area of your canopy and the darkest shadow under the tree should be noticeably different. That contrast is what gives the drawing life.
Common Questions from Beginners
My branches look too stiff. How do I loosen them up?
Draw from the shoulder rather than the wrist. Hold the pencil further back from the tip than you normally would and let the whole arm swing. Stiff lines almost always come from a tight grip and movement only from the fingers.
How do I know how wide to make the trunk compared to the canopy?
A rough rule: the trunk's diameter at its base is usually somewhere between one-sixth and one-quarter of the canopy's total width. Check this against any photo or real tree you observe. Your eye will start to calibrate after a few drawings.
Can I use this method for other types of trees, like pine trees or palm trees?
Yes, with adjustments. A pine has a triangular silhouette; replace the rounded scribble foliage with short horizontal strokes arranged in tiers. A palm has a very thin trunk, no interior canopy mass, and individual fronds you can draw as long curved lines from a central point. The underlying process, start with the silhouette, then add texture and value, stays the same.
My tree looks fine but the landscape looks empty. What am I missing?
A landscape often needs something in the foreground, something in the mid-ground (where your tree usually lives), and something in the background. Foreground objects are drawn with the heaviest pressure and most detail. Background elements are drawn lightly and with almost no detail. If everything is the same weight, the space flattens out. Try adding a rock, a clump of grass, or a simple fence post in the near foreground.
Should I trace a photo to get started?
Tracing as a first step is fine for understanding proportions, but do not stay there. The goal of landscape drawing for beginners is to learn to observe and translate what you see. After one or two traced studies, try drawing from observation of the same reference. You will notice a lot more than you expect.
Once you feel comfortable drawing trees, the same approach to breaking a complex subject into basic shapes applies to other subjects. Faces, for example, start with an oval and a centre line, much like a canopy starts with a mass shape. If you want to take that next step, see our guide on drawing faces with beginner proportions. Portraits rely on the same patience and light-to-dark shading that makes a tree look round. The skills transfer more than you might expect.